We eat loads of pickles in our house. When our son was very young, he developed a taste for sour things. He would eat loads of pickles. That was no problem, because I grew loads of cucumbers and I enjoy canning pickles. I started exploring other types of pickles to add a bit of variety, and I decided to try my hand at making cornichons.
For those who grow cucumbers, you know that if you ignore your vines for three days, you will have buckets of huge yellow cucumbers on your hands. When I make my recipes for Mrs. Dalton’s Dill Pickles or Crock Fermented Dill Pickles, I prefer the cucumbers to be fairly uniform in size. Both recipes also require the cucumbers to be very fresh, so you can’t really stockpile cucumbers in the fridge for a week and expect the best quality. The huge, yellow cukes are perfect for making my relish recipe. So the dilemma becomes what to do if there is either a surplus of cucumbers coming on the vines or if you need to leave for more than a few days?
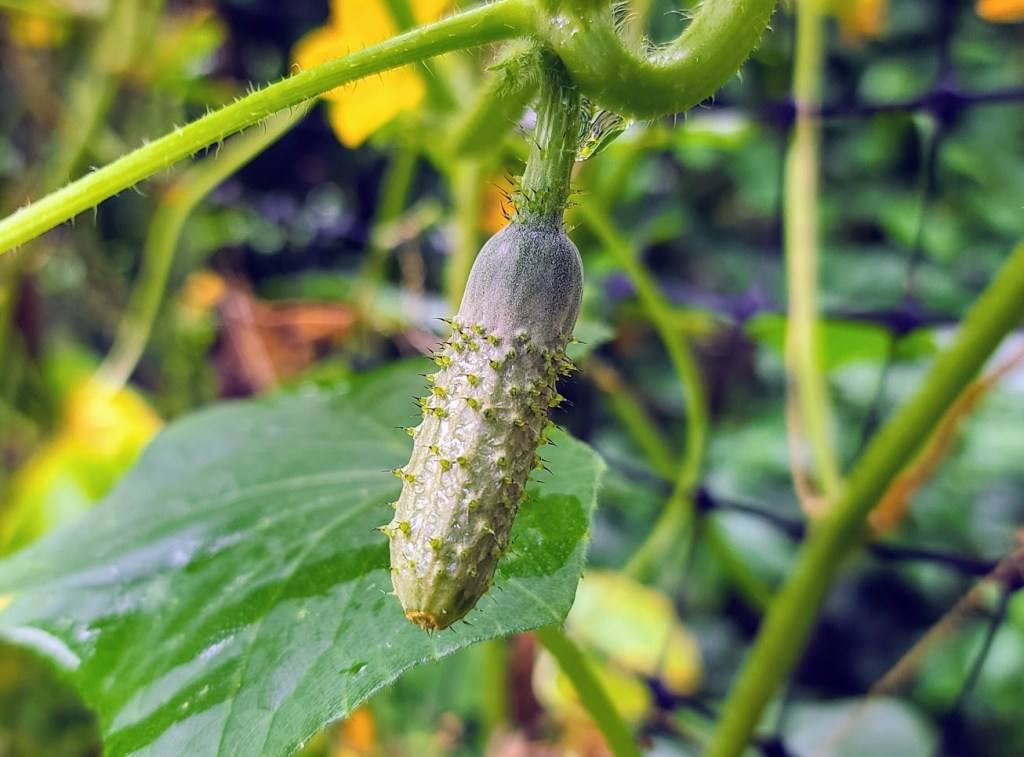
This is where making cornichons comes in. By picking all those 1-2 inch baby cucumbers, you can moderate the harvest. At the same time, you make some different and delicious pickles.
For years, I followed a recipe I got off a French web site. It involves washing and brining the baby cukes, then rinsing, packing in jars with various things, pouring hot white wine vinegar over them in the jar, and then just simply sealing with a canning lid.
Those who spend time in the kitchen will appreciate the story of my first pint of these beauties. Picking and cleaning all those tiny cucumbers is tedious. The brining process takes a few hours. Good quality white wine vinegar is somewhat pricey. Nonetheless, I made that first jar with several hours of labor and an extravagant small bottle of French white vinegar. I proudly set it on the table, and opened the lid. In about 30 minutes, my son devoured the entire jar! Poof! (I did get to taste one of them.)
Over time, I figured out how to ramp up production and lower the cost by buying vinegar in bulk or making my own. While these pickles are quite good, the sourness is pretty assertive due to all the vinegar. So I set to work on my own twist on this, and I now have a really good recipe to share.
Start by picking the baby cucumbers. I select ones that are 1-2 inches long. I leave a small bit of stem on them because it gives the finished pickle a nice appearance. Generally, I leave the one inch cukes for last. I use a graduated container for picking so I pick enough to fill jars. If you have left over cukes that won’t fit in the jar, they generally go to waste, so I try and pick just the right amount. (I know this seems obsessive, but I am an engineer and cannot help myself sometimes.) If I am just short of what I need, then I go and pick the one inchers to get the right volume of gherkins.
Take the cucumbers into the kitchen and give them a very good washing. Remove the spines, and wash to remove the white film that typically covers the cucumbers. I take a fingernail and scrape off the blossom spot so it looks pure white or is just barely scraped away. It is important to do this because the residue of the flower contains enzymes which will cause the pickles to soften in the fermentation stage.
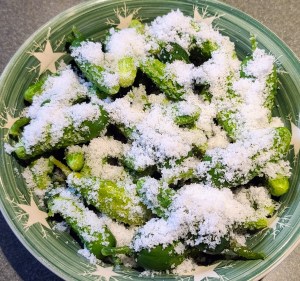
Place the washed cucumbers in a large non-reactive bowl and sprinkle with a good coating of salt. As mentioned in other posts, I am a big fan of tamise grained Korean sea salt. It has the right texture, is relatively inexpensive, and it has a nice salt flavor. Let the cucumbers rest with the salt for 2-3 hours. at the end of the time, rinse well with cool water and drain well.
While the cucumbers are brining, wash your canning jars well. You can boil them if you like, but it’s most important that they are at least well scrubbed with soapy water, rinsed and dried.
For each quart add the following to the jar:
- Four sprigs fresh tarragon, washed
- Four black peppercorns
- 1/4 teaspoon mustard seed (optional)
- Two peeled pearl onions
- Two fresh bay leaves (may substitute dried)
- One fresh grape leaf (optional, but this helps retain crispness)
Pack the jars with the pre-brined cucumbers. Don’t be afraid to really jam them in there, but don’t over fill the jar. I try to keep the level of the cucumbers just below the threads of the jar.

For each quart, mix 500ml water and 20g sea salt. Pour over the cucumbers. It is very important that the liquid cover the cucumbers. If there is not enough liquid to cover, make more brine with the same 4% ratio of salt to water.
Place a lid on the jar. I have these specialized fermentation lids that fit on canning jars. They work really well, but it you don’t have them, you can simply use a regular dome lid, just don’t full tighten it. The fermentation will create gas, and it needs to escape. On the other hand, you need to keep air out, so don’t go opening the jar all the time! If air gets in, you will get moldy, inedible pickles.
Leave the jar on your kitchen counter at room temperature. You may want to set the jar in a bowl in case it bubbles out some of the brine (which is fine). After about a day, it will be bubbling like crazy. If you’re using a dome lid, you may want to burp it every few hours to make sure pressure isn’t building up. If it’s releasing gas ok, then let it alone.
After four days, the fermentation should be about done. At this point, mix 250ml white wine vinegar with 10g sea salt. Pour 250ml of the brine off the jar and replace with the salted vinegar. Place a regular lid on the jar, flip the jar over a few times to mix in the vinegar, and store in the fridge. They are ready to eat in about a week.
A delightful accompaniment to a plate of cured meats.

