
Let’s go camping! It’s so refreshing to be outdoors. Being in the forest, the mountains, at the beach, or on a lake, camping recharges me as I watch the sky, observe nature, and just soak up the peacefulness of sleeping in my cozy sleeping bag snug in my tent.
Of course, we need to eat when we camp. Camp food has to be good, but it also has to be easy, with an easy clean up. One of the best ways to make food on a camping trip is to use a cast iron Dutch oven. A one pot meal means one pot to clean!

Good camp food means planning ahead, preparing some things at home. It can also mean we take a few short cuts, using some prepared or canned foods. By using good ingredients and techniques along with a few short cuts, it is possible to have some really great food in the wild.
When we camp, we follow the principles of “Leave No Trace.”
The Seven Principles of “Leave No Trace”
- Plan Ahead and Prepare
- Travel and Camp on Durable Surfaces
- Dispose of Waste Properly
- Leave What You Find
- Minimize Campfire Impacts
- Respect Wildlife
- Be Considerate of Other Visitors
The type of foods suitable for camping depend on the type of camping you’re doing. No one I know is bringing a cast iron pot on a backpacking trip, for example. For an extended wilderness trip, you will likely have to limit fresh items to the first day or two. No problem! Maybe you can augment your menu with some freshly caught fish.
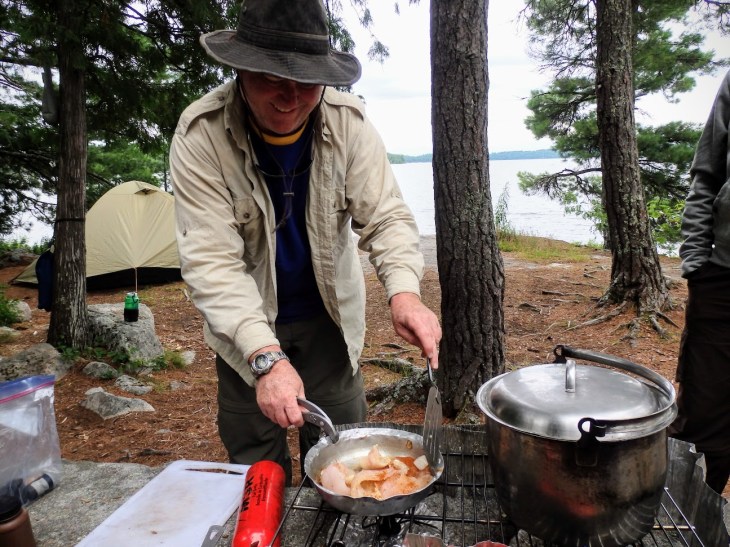
If you’re car camping, you can afford to bring some luxuries and eat all fresh food. It’s easy to have great food whether car camping or wilderness trekking. I’ll try to sprinkle in some of each in future posts.
For today’s dish, this was a collaborative effort with my son who is eager to volunteer as cook for his Boy Scout troop when they go camping. A recent trip was to a cabin along the Appalachian Trail. We could drive to the cabin, and then use it as a base camp to explore the trail.
I don’t know if it’s because of what we eat at home, but he seems to trend toward Mexican or Southwestern-style dishes. The idea was to make enchiladas. I have been doing quite a bit of experimentation with chicken pieces in the sous vide, so I suggested chicken for the protein.
Dutch Oven Chicken Enchilada Casserole
6 lbs. boneless, skinless chicken drumsticks and thighs
6T taco seasoning
6T minced fresh garlic
2 onions, diced
1 family sized can Cream of Chicken soup
2 cups salsa verde (I used home canned salsa, but you may use any sauce or salsa you prefer)
1 bag tortilla chips
1 lb. grated cheese (cheddar, jack, your preference)
We started with 1/2 lb. of boneless, skinless chicken for each person. I tried this with both breasts and with dark meat (drumsticks and thighs). While both stay juicy in the sous vide treatment, the dark meat was our preference for moistness and flavor.
Lay the chicken out in a single layer and sprinkle liberally with taco seasoning and a bit of Mexican oregano. Place about one pound of chicken in each vacuum bag and add about five cloves of minced fresh garlic. Seal the bags and cook in a 165F water bath for one hour.
Remove the bags from the water bath, and slice them open. Drain any liquid into a large bowl. Dice the chicken in bite sized pieces and add to the bowl. Add the diced onions, the soup, and the salsa. Mix well.
I have seen a lot of folks line a Dutch oven with foil to simplify the clean up, but I find that if the Dutch oven is properly seasoned, the clean up is a breeze without foil. Remember: Leave No Trace!
Cover the bottom of the Dutch oven with a layer of meat, top with tortilla chips, and then cheese. Repeat this twice more. Finish with the last of the meat and top with the last of the cheese. Top the oven with the lid. A good Dutch oven for cooking with coals has a lid with a rim to keep the coals from falling off. If yours lacks the rim, just make one out of a piece of foil by rolling the foil into a snake shape and then bending it into a ring.
Light about 18 charcoal briquettes. It does not take a ton of coals to cook in a Dutch oven. Put 6 coals under the Dutch oven and 12 on the lid. The ratio is always to use 1/3 coals under the oven and 2/3 on top.
Resist the temptation to lift the lid. When the food is almost ready, and remember that all of the ingredients are already cooked, steam and delicious aromas will escape the rim of the lid. Using minimal coals also provides a good time estimate so that when the coals are almost burned up, the dish is ready.
Carefully lift the lid and reveal the deliciousness!
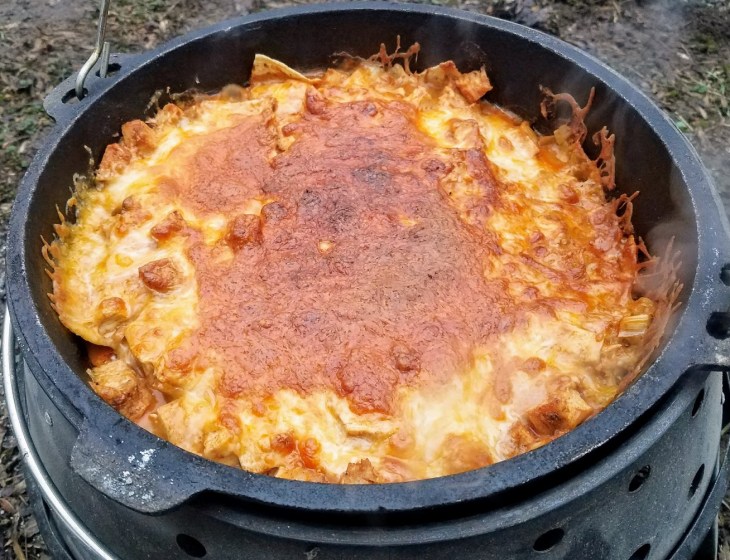
Hungry campers will usually do most of the cleanup for you by scraping the pot to get every last morsel!
