What can I do with the delicious leftover brine when the pickles are gone? Readers of my blog know that we eat a lot of pickles in our house, and the pickles we eat are homemade and from homegrown ingredients. Every time a jar is emptied, and it happens quite frequently, we feed a bit of sadness even though we have an ample supply in our basement canning pantry. Those pickles were so good, it just seems a waste to toss their delicious essence, the brine they transformed in the jar, down the drain. Surely there must be a good use for this elixir.
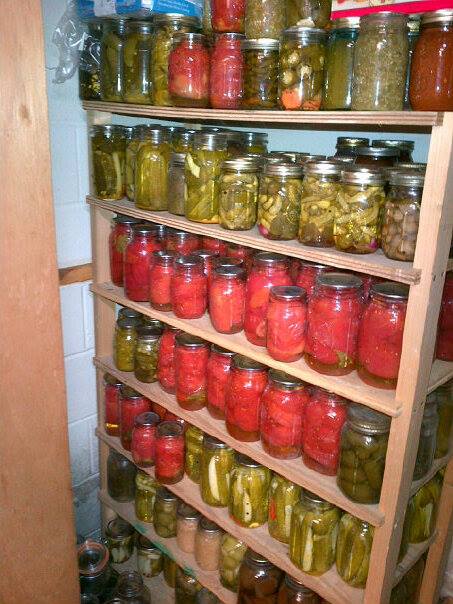
There are certainly some great uses for this leftover brine. (My family did try making pickle juice popcicles, and that was decidedly not a good use, ’nuff said.) The best use, by far, has been to use the pickle juice in brining chicken for fried chicken. When a jar of pickles is emptied, I consolidate the bring in quart Mason jars until we accumulate two or three of them. It’s mainly juice from my “Mrs. Dalton’s Dill Pickles” and crock fermented dills, but it also includes the juice from jars of pickled green tomatoes, dilly beans, pickled jalapenos, you name it. Anything pickle juice that is vinegar-y and salty will work, and I just mix them all together.
Now I’ve made a lot of fried chicken over the years. My normal process was always to soak the chicken overnight in seasoned homemade buttermilk or yogurt, then dredge in seasoned flour, corn meal, or a combination of the two, and then deep fry in peanut oil at 370F. That works pretty well, and makes an acceptable fried chicken.
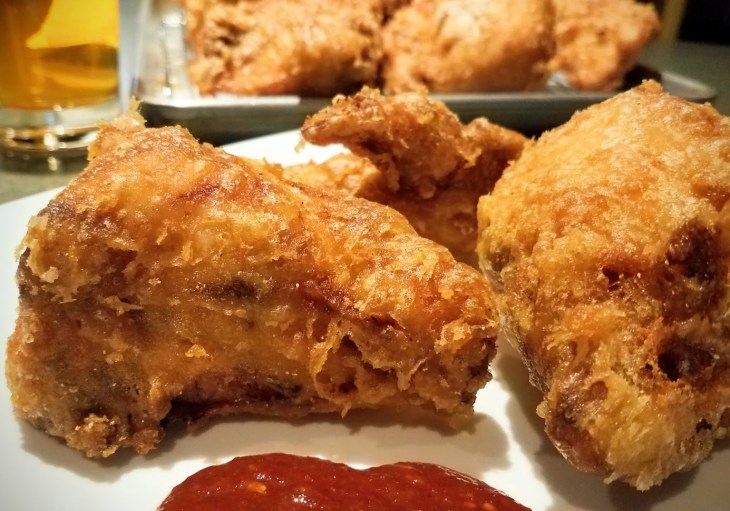
My first tries at pickle juice chicken were to just mix some pickle brine into the buttermilk or yogurt and proceed as normal. The pickle flavor is subtle, and the added acidity softens the chicken and the salt makes it juicy. Next, I tried using only pickle juice for the brining of the chicken. That was a big leap forward because the pickle flavor is wonderful. This became my go-to method for years. I worked on the spicing and the development of a good crust, and all eaters were pleased. Pickle eating sometimes accelerated just to generate brine to give an excuse to make more chicken. I love to use fried chicken as a vehicle for eating my homemade hot sauces (search this blog for hot sauce and you will find some good ones). This chicken is perfect for that.
How can this be made better? There is always a way to improve something, and so it turns out there were two ways to improve the pickle brined chicken.
First, after the brining, I used the sous vide to cook the chicken. I vacuum sealed 4-5 pieces in a bag and sous vided them for two hours at 145.5F. The benefit here is that the chicken is pasteurized and taken right to the edge of being cooked through, so the frying only needs to finish it and add a crust. And a second benefit is that because the chicken is cooked in a sealed bag, it retains all its moisture.
With the chicken cooked to the edge of where it needs to be, now we can get a good crust without overcooking the meat. The way to accomplish this is to use the method used for Korean fried chicken. These Korean fried chicken and beer places are popping up all over the place, and with good reason: it is delicious and perfect with cold beer!
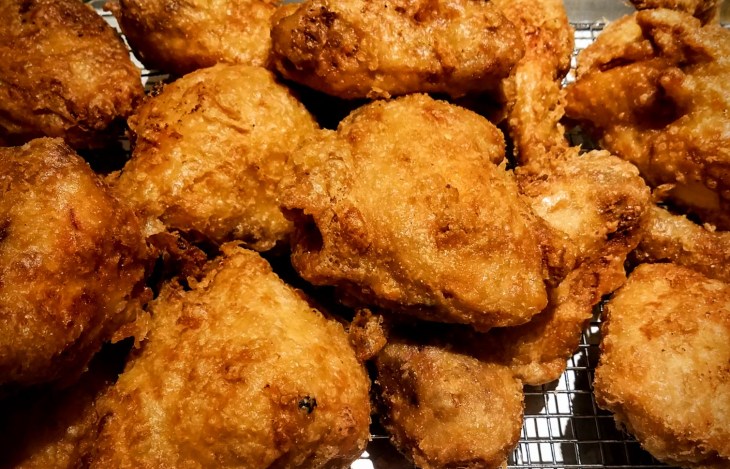
The trick to Korean chicken is to dust the chicken with a fine layer of starch, chill, and then do a quick dip in a very thin batter. This results in the most delicate, crispy coating. The coating is one with the chicken, locked on by the layer of starch dusted onto the chicken.
Crispy Pickle-Brined Fried Chicken
2 fryer chickens, cut up into 20 pieces (wing, thigh, drumstick, 1/2 each breast half)
2-3 quarts leftover pickle brine (I leave all the spices and dill in the brine)
For the dusting:
1-1/2 cup corn starch
2t baking powder
4t Korean sea salt (similar to Kosher salt, or French tamisé grain salt)
For the batter:
1 cup all purpose flour
1 cup corn starch
4t Korean sea salt
1-1/2t baking powder
1 cup water
1 cup vodka (I used bacon flavored vodka)
Cut up the chicken the night before your feast. Put in a large container (I use an 8 quart Cambro). Pour in the pickle brine. Refrigerate.
The next morning, remove the chicken from the brine, and seal in bags of 4-5 pieces. Pre-heat sous vide to 145.5F. Place chicken in the heated water and cook for 2 hours. Remove the bags from the water and place in a cold refrigerator for 3 hours to chill thoroughly.
Whisk together the ingredients for the dusting. Place the pieces of chicken on a rack placed on a baking sheet. Dust with the mixture using a strainer or sifter. Make sure all parts are covered, including any seams of the meat. Place the trays of dusted chicken in the refrigerator, uncovered, for about 4 hours until they are well chilled and dry to the touch.
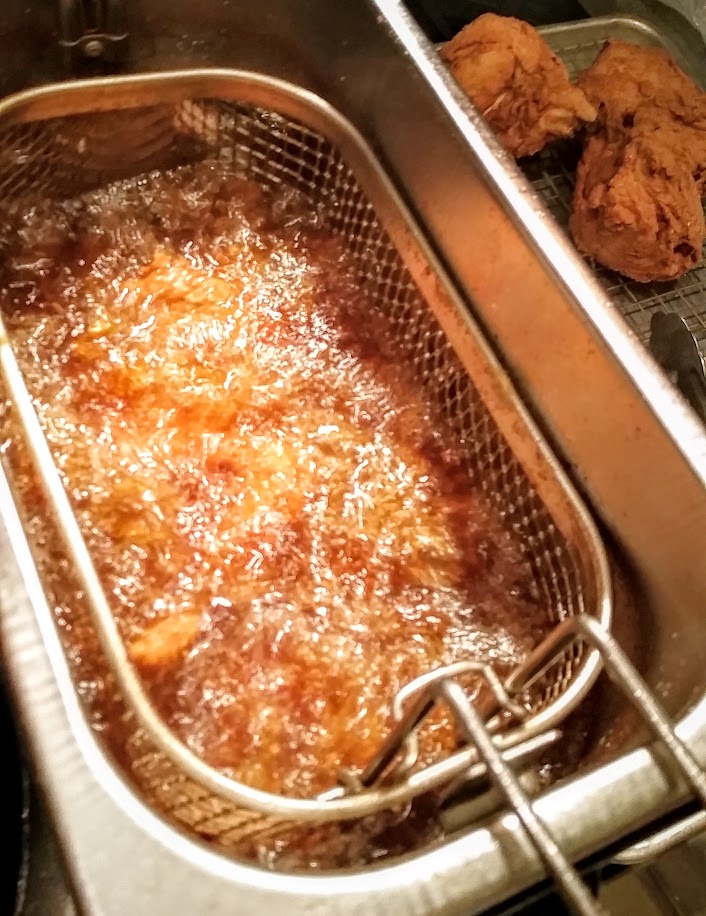
Heat the oil to 370F. Mix the ingredients for the batter. It will appear to be very thin, and that is how it should be. Don’t worry! Dip pieces of chicken in the batter and allow to drain. Carefully place each piece into the hot oil. Repeat until your fryer is full enough that all pieces are in the oil, but you have room to move them with tongs. Shift them around in the oil so they are evenly browned. Take the chicken out of the fryer and repeat until all chicken is cooked.
I had a little batter left over, so I cut up some crock fermented dill pickles, dredged them in seasoned corn meal, and then coated them with batter and fried. Those were ridiculously good, too!
Since I went with the Korean style crust, I served with one of my favorite spicy concoctions, this Korean-style hot sauce.
Korean-Style Hot Sauce
1 cup Gochujang (Korean red chile paste), I used some labeled “Extra Hot”
½ cup Korean red pepper flakes
20 cloves of fresh garlic, washed and trimmed of root end
¼ cup granulated sugar
¼ cup good quality soy sauce (low sodium preferred)
¼ cup yellow miso (I used a variety that included dashi)
1 cup apple cider vinegar
1 cup dark rice syrup
2 T sesame oil
1 T roasted white sesame seeds
2T roasted white sesame seeds, finely ground to a paste
Put all of the ingredients into a large stainless steel bowl and hit it with a strong stick blender (I have a Dynamic Junior Plus model since I was sick of weak home use models), or put it all onto a blender and liquefy until it is well mixed and the garlic is no longer visible. Some sesame seeds and chile flakes will still be visible. Adjust the sweet-tart balance by adding more vinegar or rice syrup as needed.

Reblogged this on mamabatesmotel.
LikeLike
Reblogged this on mamabatesmotel.
LikeLike