The more I thought about it, though, the more I was convinced that it couldn’t be that hard. The curing is the part that requires some planning, and I could handle that. I had a fine piece of pasture raised pork from a hog I recently butchered. The cut was a picnic cut from the shoulder primal cut of the hog. I had removed the trotter and used it in a batch of scrapple, and I removed the head of the loin to cure as a spicy coppa. That still left a beautiful cut to cure into a ham.
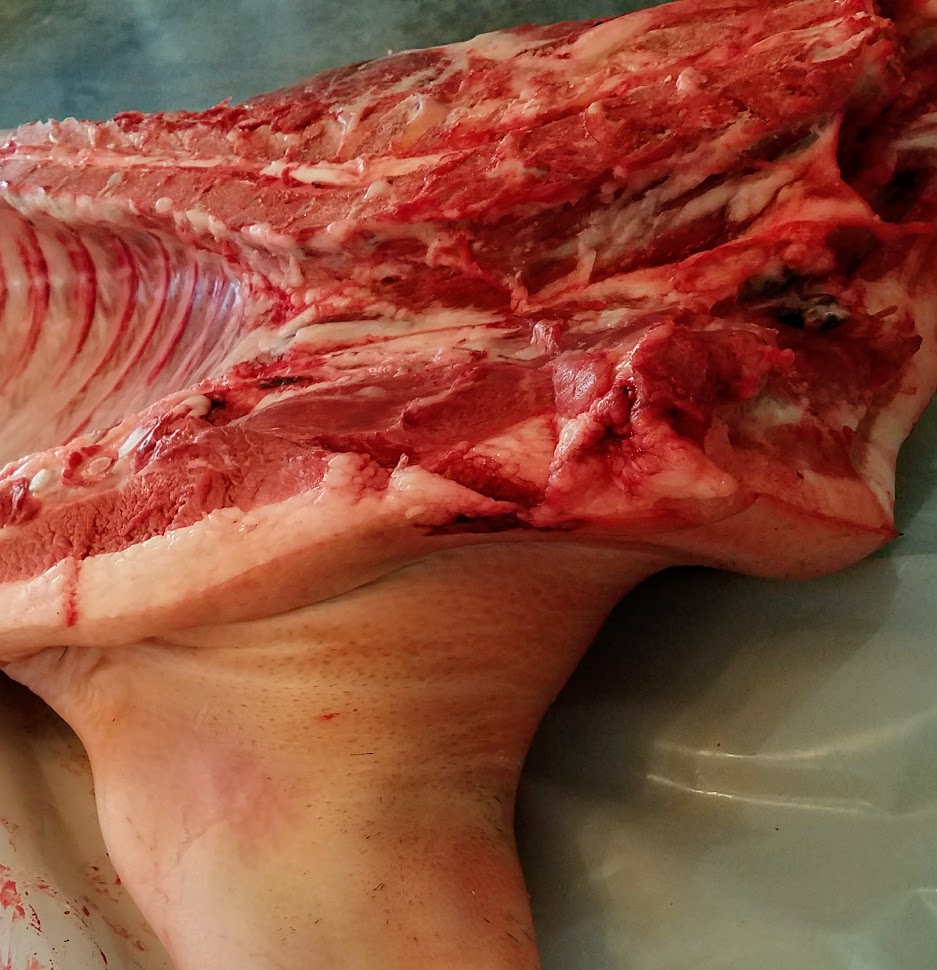 |
| The lower part of the shoulder is the cut for picnic ham |
To cure, I placed the picnic roast in a 2-gallon sealable bag, poured in the brine, squeezed out the air, and sealed the bag. Because the brine totally covered the pork, there was no need to flip the meat during the curing process. I put the bag of meat and brine in a plastic food lug just in case it leaked. I put the whole thing in the refrigerator.
Because my salt level was not really high, I had no worry about over-curing the ham and making it too salty. Still, I left it in the cure for 20 days. At the end of 20 days, I removed the picnic from the brine, gave it a good rise with cool water, and patted dry with paper towels. The ham should not be bone dry, but not dripping wet either. I let it rest on a rack, uncovered in the fridge overnight.
Next is the application of smoke. I set up The Porkulator to cold smoke. To do this, I build a small wood fire, enough to get a few good coals to sustain a very low smoking fire. The temperature must be kept below 100F. I tracked the temperature using a wireless iGrill2 probe, and it was typically in the 70’s during the smoke.
 |
| Starting the cold smoking |
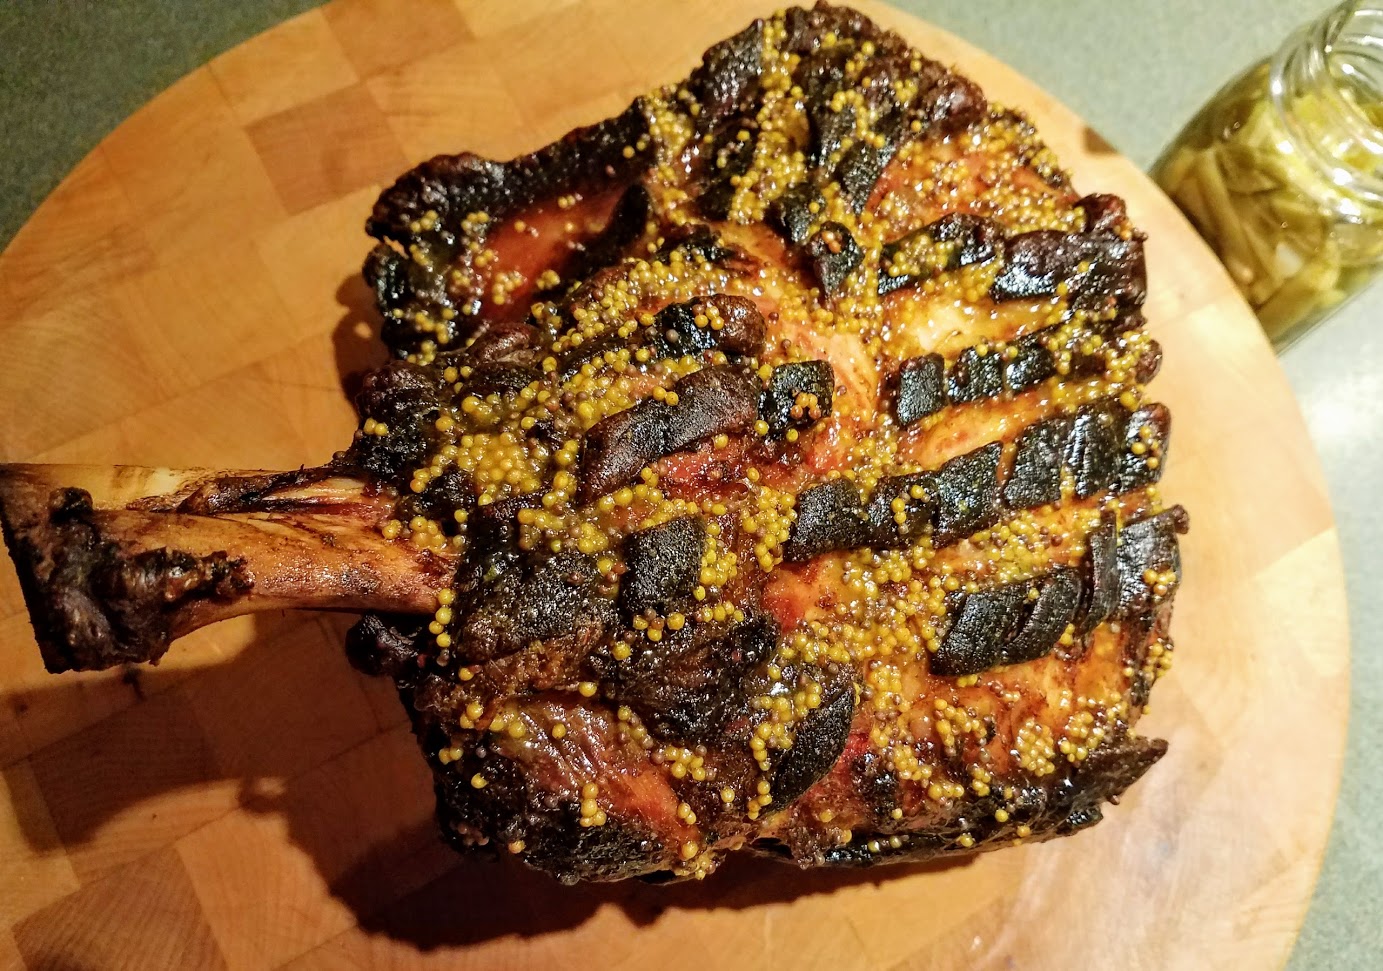
While the ham was roasting, I mixed up a glaze. 3T homemade mustard (recipe follows), 2T light brown sugar, 1T honey, pinch of cloves, small amount of water to make it brushable. Brush the glaze over the ham and place back in the oven until it bubbles a bit. Rest the ham and slice.
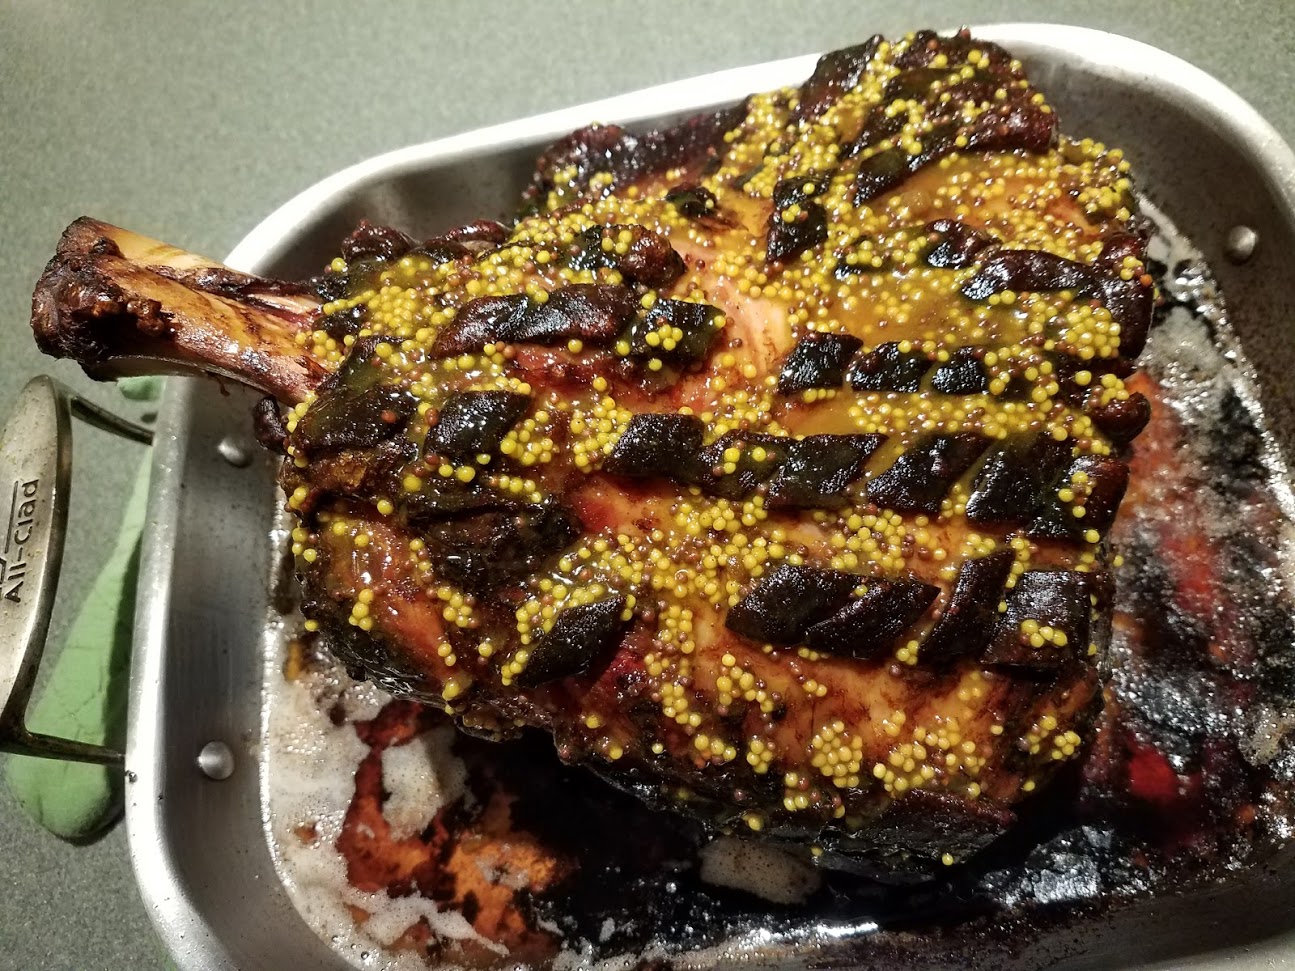 |
| Ham is done baking, now for the glaze |
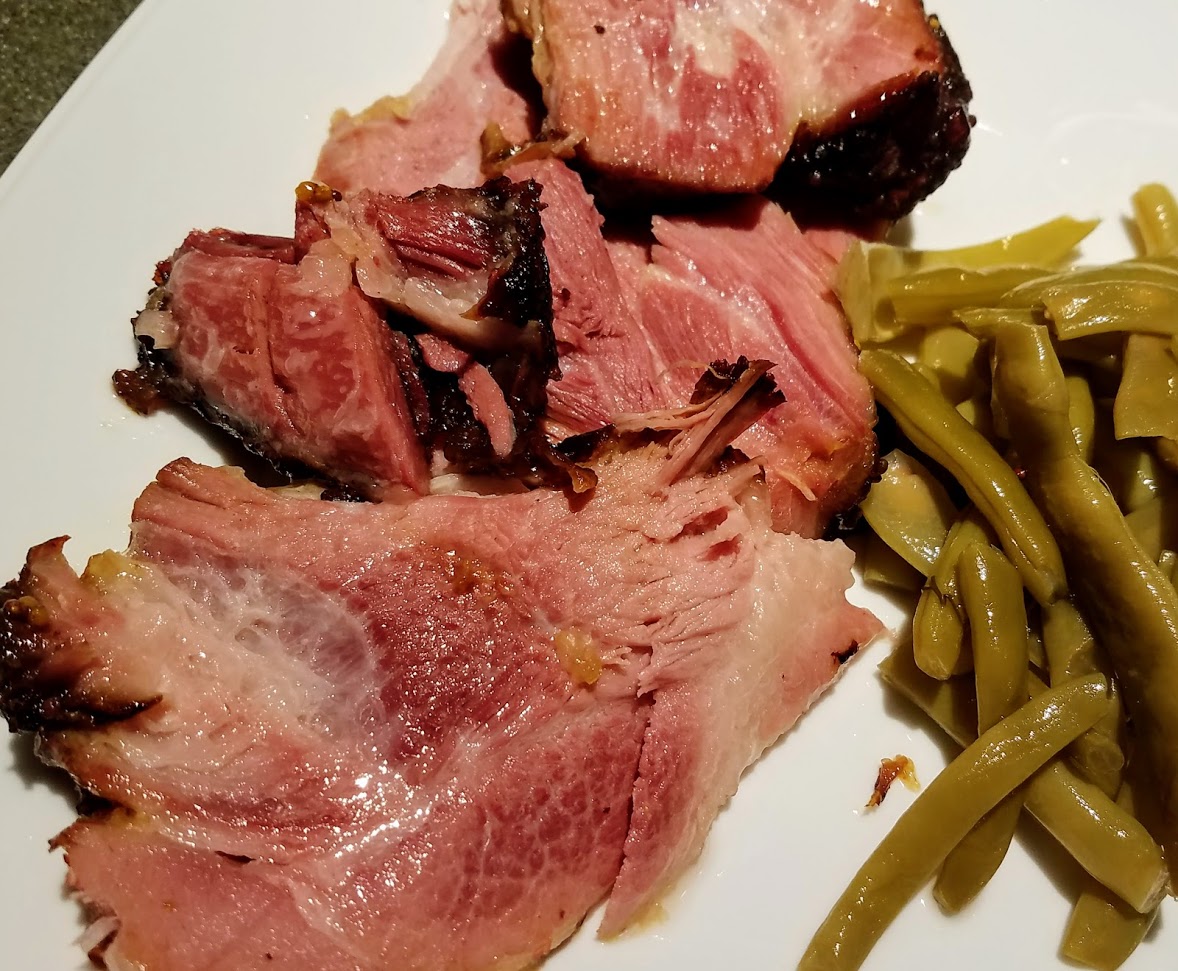 |
| Let’s Eat! |
Salt to taste
Soak the mustard in the water, mixing to make sure the powder is moistened thoroughly. Allow to hydrate and build heat. The longer this sits, the more heat will build. I let mine go for an hour. Add the vinegar, turmeric, and a small amount of salt. Mix thoroughly. Put in covered jar and let sit at room temperature overnight. Taste and adjust salt as needed. At this point, I store in the fridge. The mustard can be mixed with other ingredients to flavor to your taste (honey, garlic, horseradish, booze, herbs, wine, you name it.)

One thought