Everyone has their favorite ways to cook pork ribs. This post is all about my techniques for barbecued ribs. Just like my brisket story, this one takes a lot of turns and involves some choices. The good news is that even with a lot of wrong turns, the end of the trail comes with a pile of tasty ribs.
I have a confession to make. I never ate a pork spare rib or baby back rib until I was in college in the early 1980’s. I don’t know why that was. I ate plenty of pork chops prepared all sorts of ways, but never a rib. Fortunately, my roommate fixed this deficiency in my upbringing. He introduced me to spare ribs. I give him full credit for this. I remember I had a cast iron 2-sided hibachi that my mom got me at the S&H Stamp Store. My roommate would come back from the store with a slab of ribs that fell over both ends of the grill. We would light some charcoal, set the grills up as high as possible, and let those ribs slowly cook and drip their fat on the coals. At the end, when we could stand it no longer, he would brush them with some cheap barbecue sauce and we would dig in.
Chargrilled spare ribs, some fries made from potatoes from my dad’s garden, and beer. We were eating like kings on a pauper’s budget.
Out of college and into our first home with my wife, I used that grill until it rusted and fell apart, which took a long time. I took it on camping trips to the beach, picnics, grilling ribs everywhere. When that hibachi finally died I got my first Brinkman smoker, and my world was forever changed. We’d sit around and say, “You know what would be good on that smoker?” Well, of course, the answers were limitless. A slab of cheap baloney would be good on that smoker!
So I got into making rubs, sauces, marinades. I learned the difference between grilling, barbecuing and smoking. It was pretty good. Then came The Porkulator, and the universe changed yet again. The Porkulator holds a good two cases of baby back ribs on the primary grilling surface. That is a lot of ribs. When you are buying two cases of ribs at a time, you get to be friends with the butcher really fast. When Dot and I got married, we threw a huge rib feast for our friends. I actually cooked four cases of ribs by rigging a mezzanine inside The Porkulator. That was in the Dark Ages before everyone had a camera in their pocket, and maybe that’s a Good Thing. For weeks after that party, I would go out in the yard and pick up a bucket of bones. Just when I thought I had them all, the dog or the lawnmower found some more.
The original formula for Porkulated ribs was pretty simple. Build a nice apple/hickory wood fire and get some coals going. When the temperature was right, open the cryopacks of ribs, arrange them on the grills. Wait until they are just about done, and brush on some sauce. Serve and get messy.
That approach was more than OK, but why settle when improvements are possible?
So began my summer of rib perfection. Like all major events, I announced what was going to happen. Rib Porkulation would be elevated to new heights, so everyone better be hungry and stay that way. Fortunately for me, I have a lot of friends who like a challenge and they enjoy free, and incredibly tasty, food. We ate a lot of ribs and never got tired of it.
My first step was to learn about pork production, breeds of pig, and what makes a pig produce fine slabs of ribs? I spoke with butchers and farmers, and ended up buying a lot of pricey pastured pork. I learned what to look for when selecting ribs, but unfortunately when you buy a case, they are not all the same. I learned about the different grades and weight classes of ribs. In the end, the winner of the blind tasting of pork quality was Berkshire. The only problem was that you might need a trust fund if you want to entertain a large crowd. The truth of the matter is that yes, the quality is very, very good for those who can tell the difference, but you are going to assault this pork with a barrage of flavor from smoke, rubs, sauce, mops, etc. Conclusion: for special events and small groups, pasture raised heritage breed pork is the way to go. For large crowds, go with the best quality you can get.
The next obvious fork in the road was the age old question “Spare ribs or baby backs?” This one was easy. All I had to do was cook both types and do a side-by-side taste test. Baby backs are leaner and more tender, but the winner every time was the humble spare rib. The place I was buying meat, BKMiller Liquor and Meat (the liquor is up front and cases of meat are in the rear…I know it’s strange, but I love this place), has upwards of eight different grades of pork ribs. The cases have a number on the side that will tell you the maximum or the minimum weight of each slab. That gives you an idea of the meatiness and age of the pig. Smaller pig means less meat and less fat. Go for mid-range. An untrimmed slab of spare ribs should be 4-5 pounds. A 30 lb. case contains about 6 slabs and runs just over a buck a pound. That will feed a lot of people, except for a few people I have seen who can eat an entire slab. Normal hungry folks can typically eat 3-4 spare ribs for a serving (unlike baby backs where a slab can be eaten by most).
Whole slabs will take more time to prep. These days, most stores sell St. Louis trimmed spare ribs. They do the work for you, but you lose all of the trimmings. Plus, the cost for them doing the trimming is that the price is jacked up 3x! I’ll trim my own, thank you. It’s actually pretty simple. Flip the rack over and you can see where the ribs join the chine bone at a cartilage joint. A good knife goes right through there and separates the chine bone. Then there is usually a flap of meat on the inner side of the rack. Trim that off. Peel off the membrane that covers the inside of each rack of ribs. I find the easiest way to do this is to push a spoon up along one of the bones and loosen the membrane there. Then carefully work it to both ends of the rack. If it tears, start again where the tear occurred. Trim any loose bits of meat or fat.
I used to cut the chine bone at the suture joints, and brine those bony chunks along with the portioned pieces of the flap. Toss them on the grill and serve with pre-rib feast snacks. The only problem was people would be so hungry from smelling The Porkulator, they would devour these morsels and less room for the main event. Later I moved to just giving these pieces a nice smoke, and then package them up to flavor pots of beans. The problem with that was that there are only so many pots of beans and way more pork scraps. Hmmmm….what to do with scraps? Make scrapple of course! That post will wait for another day.
I mentioned brining. No question, brining improves the quality of pork by having it take up more moisture. I take my biggest pot and fill it halfway with cold filtered tap water, add 2 cups coarse sea salt, ½ cup of sugar or brown sugar, some black peppercorns, a few bay leaves, and some mustardy hot sauce. Whatever else you want. Brine the trimmed slabs of ribs for an hour or up to two hours, remove them from the brine and give a good rinse in fresh cold water, and pat dry with paper towels. All taste tests said brining was the way to go, but when I looked at how much salt we were going through, I had some second thoughts. Save brining for an every once in a while thing.
Now the fun begins. I like to make a few different rubs so folks can try ribs different ways and see what they like. Kids usually like plain old salt and pepper. I confess, I like that, too. To get a little more elegant, I have my standard Tim’s Magic Rub and then I really like to make a big batch of Jamaican Jerk Rub and freeze in one cup portions (enough for two racks of ribs).
I know folks hate to give out their rub recipes. I have no issue with that. I grow, dry and grind my own chiles. I was going for something that was not too sweet, a bit hot, and has good onion and garlic flavor. I save the ripe chiles from the end of the year garden and dry them in a food dehydrator. For my “Porkulated” pepper, I take a variety of hot red chiles and smoke them until they are almost dry. Finish them in the dehydrator. The mix is usually mostly Serrano chiles. The house smells great when they are drying.
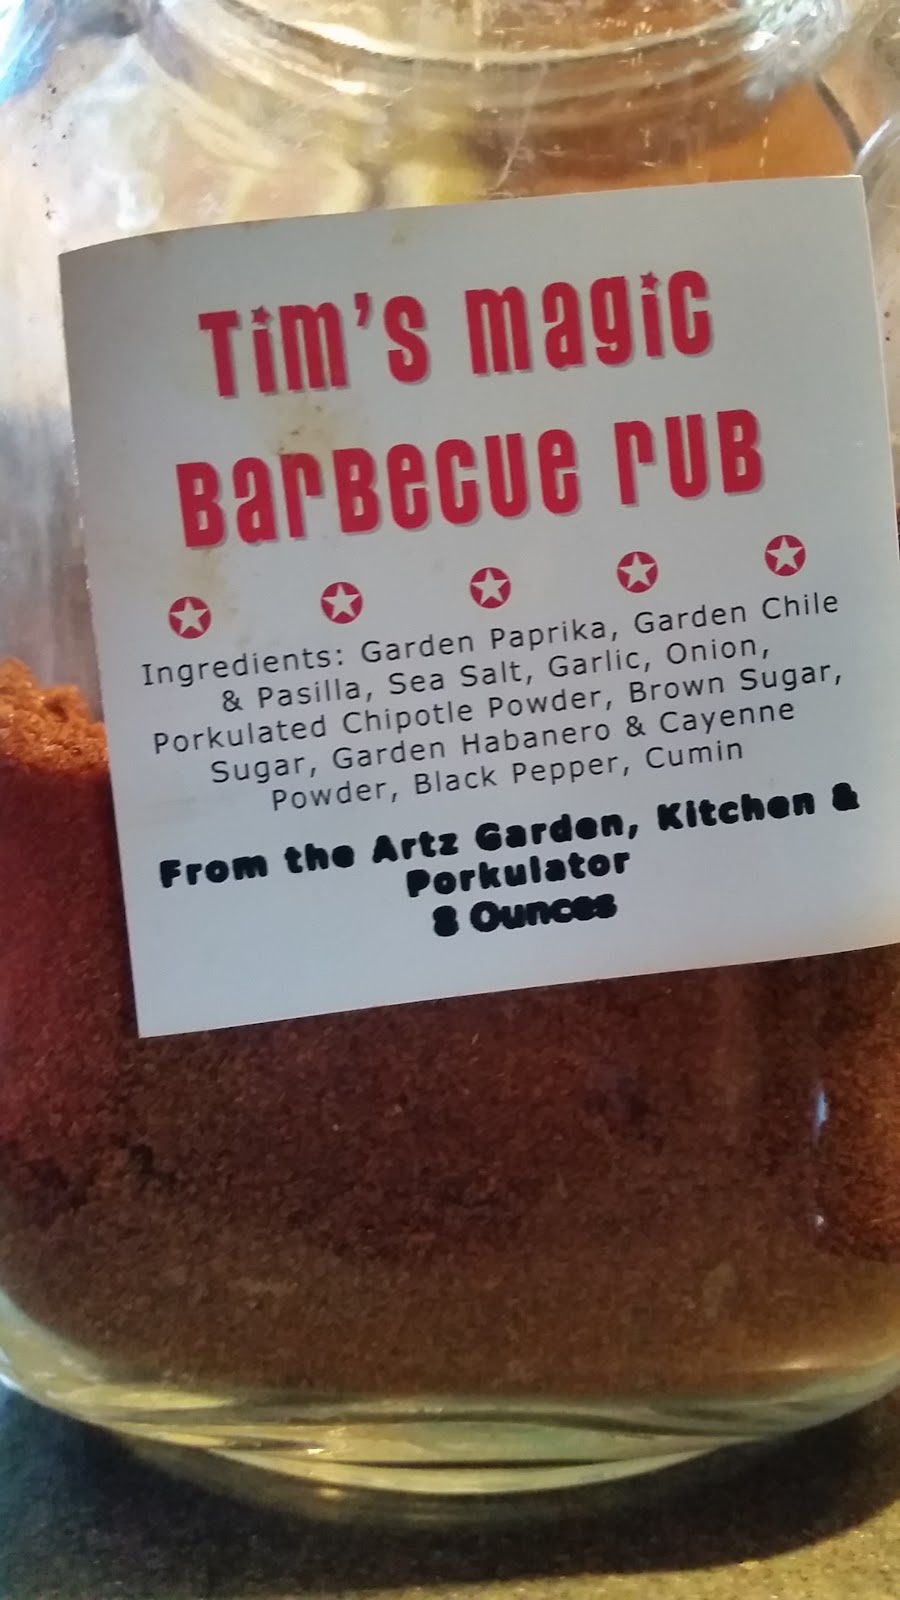 |
| The jar is getting low….this is a 2 quart jar |
Tim’s Magic BBQ Rub
2 Cups New Mexico Mild Red Chile Powder (Biggie Chile II or Big Jim)
1 Cup Pasilla Chile Powder (Holy Mole)
1 Cup Porkulated Chile Powder
1 T Cayenne Pepper Pepper Powder
1 T Habanero Powder
1 Cup Korean Sea Salt
1 Cup Organic Cane Sugar (brownish tint)
½ Cup Granulated Garlic (not powder)
½ Cup Granulated Onion (not powder)
½ Cup Finely Ground Black Pepper (I use a spice mill to do this in bulk)
¼ Cup Cumin Seeds Toasted in a dry skillet and then ground
Mix everything in a large bowl. Sift through a coarse strainer. Anything left in the strainer, I mill it and blend in. This makes about 2 quarts of rub. I keep it in a big snap top glass jar. It will stay fresh in the pantry for up to a year.
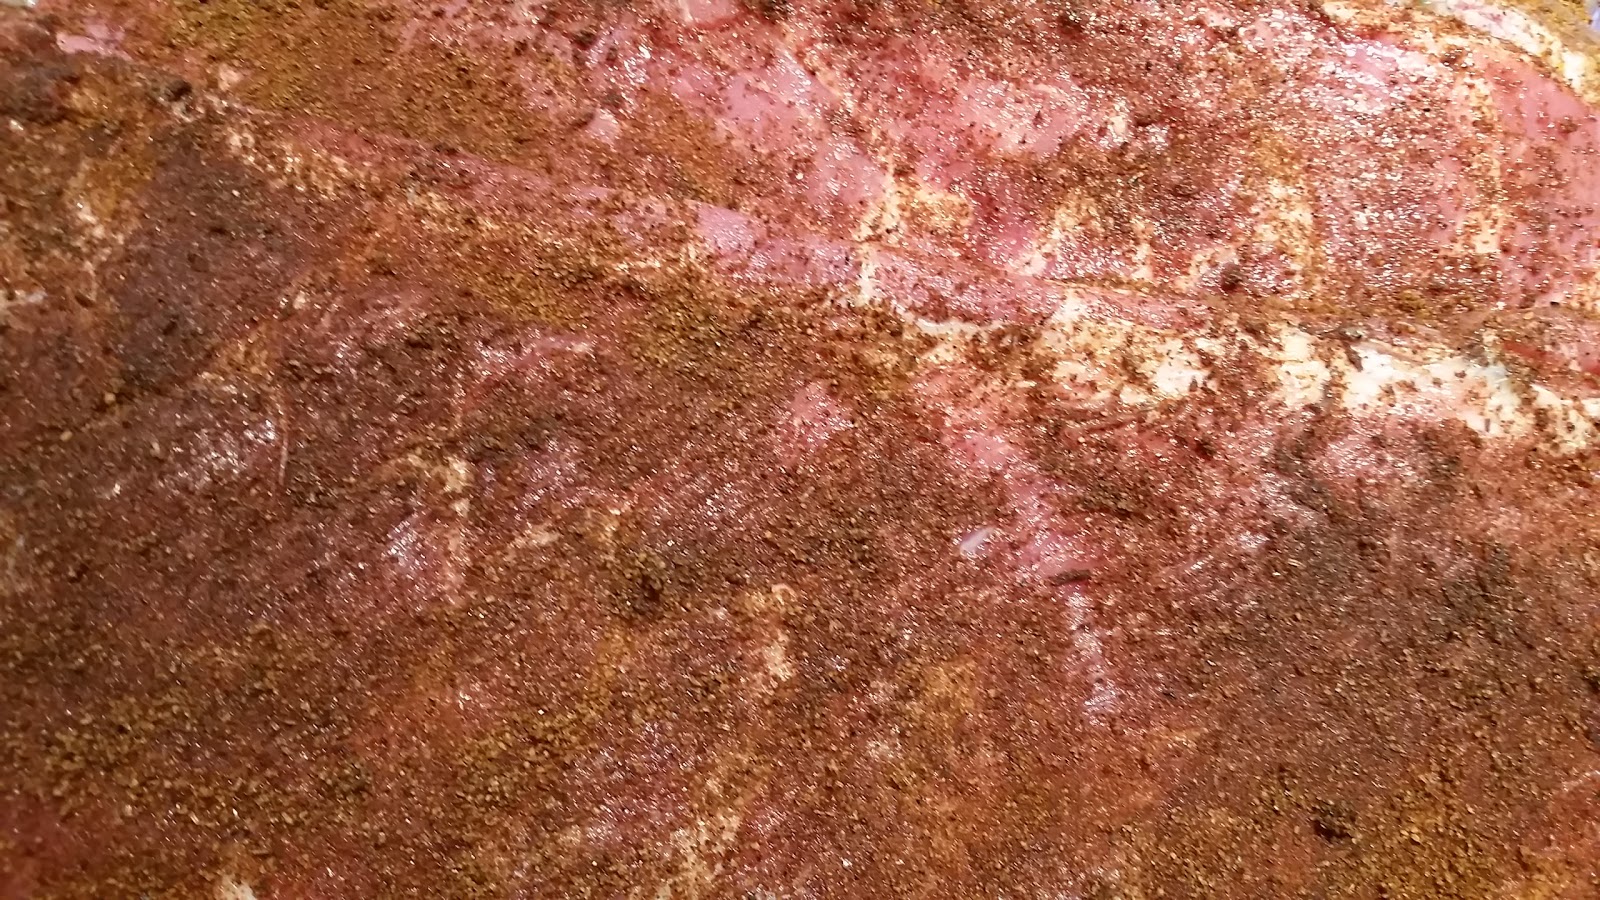 |
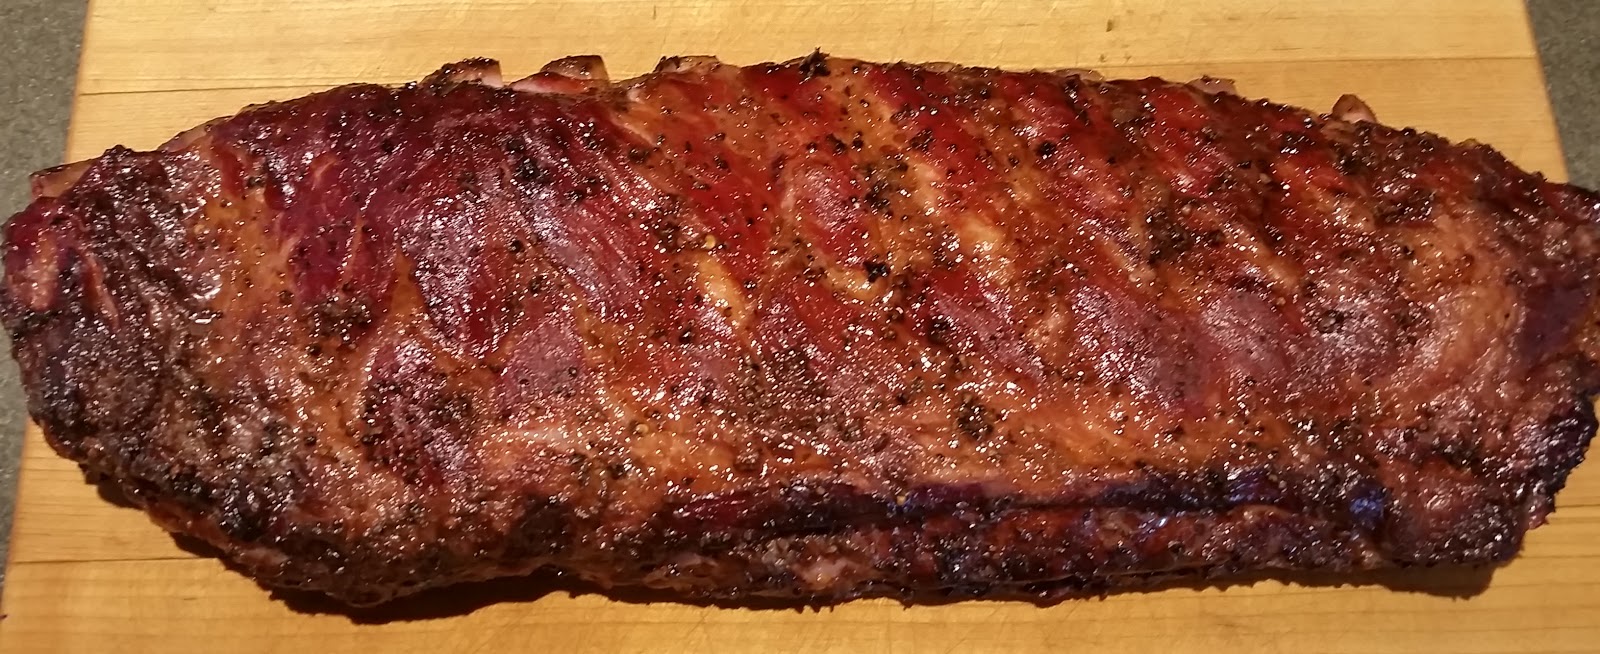
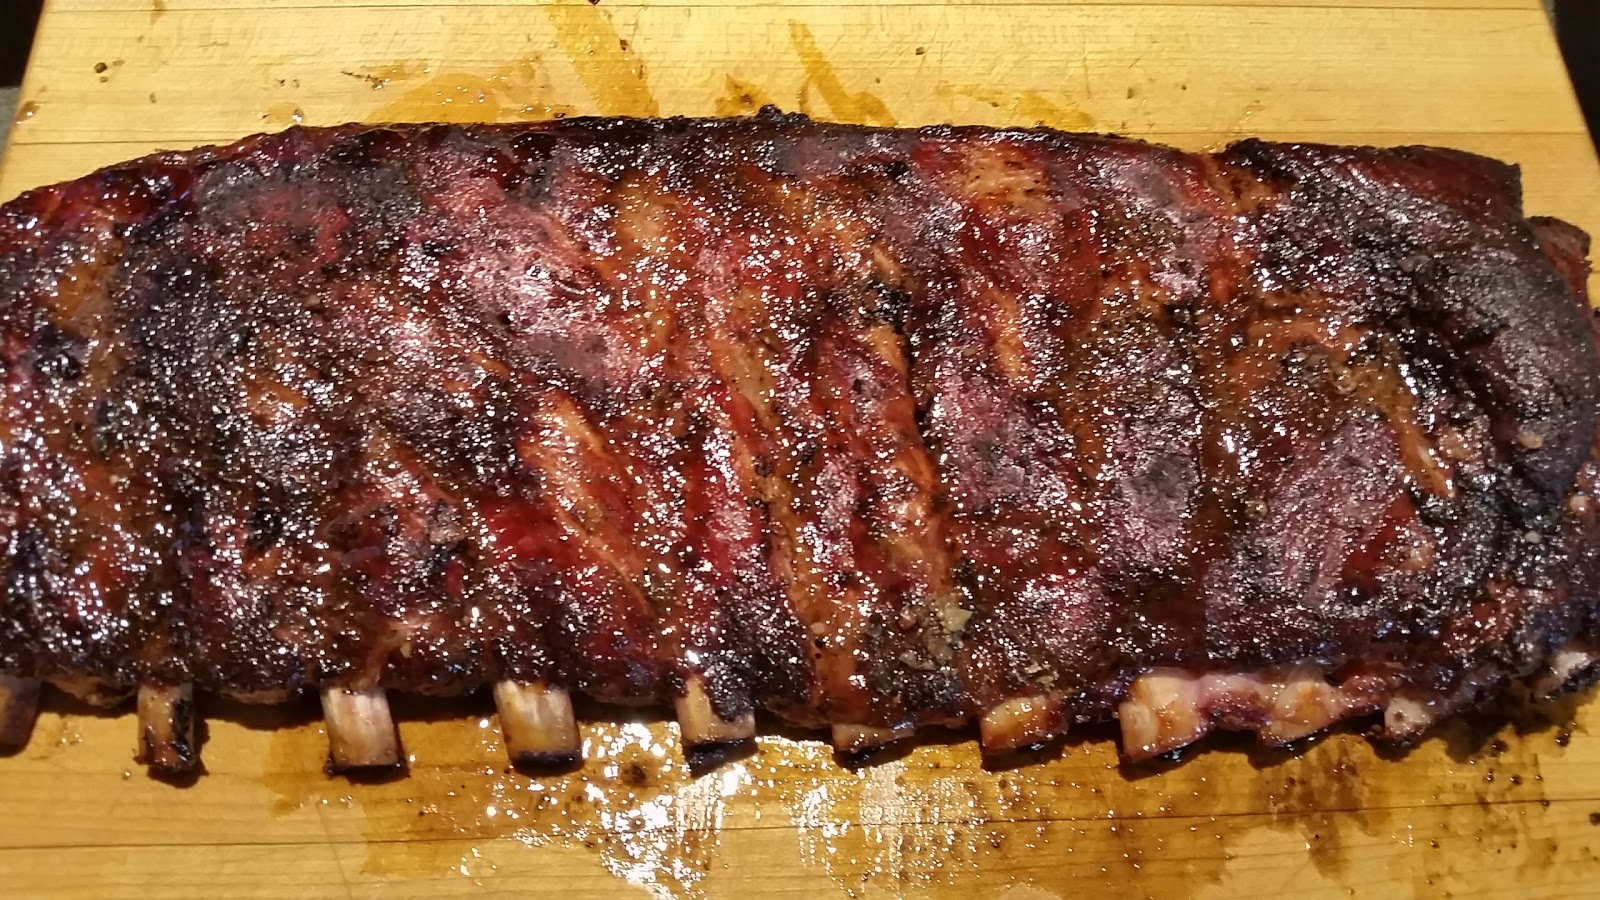
| Tim’s Magic Rub Ribs |
Jerk Rub
16 White Onions, chopped fine in food processor
50 Green Onions/Scallions, chopped fine in food processor
80 Mixed Orange and Yellow Habaneros, seeded, chopped fine in food processor
½ Cup Fresh Thyme leaves
½ Cup Fine Korean sea salt
¼ Cup freshly ground Allspice berries
¼ Cup freshly ground Black Pepper
1 T freshly grated Nutmeg
2 T Saigon Cinnamon
Combine everything in a large bowl. This makes about a gallon. I portion it in 1 cup vacuum bags and freeze. Don’t be scared by the 80 peppers; it’s not as hot as you might think. This stuff is addictive.
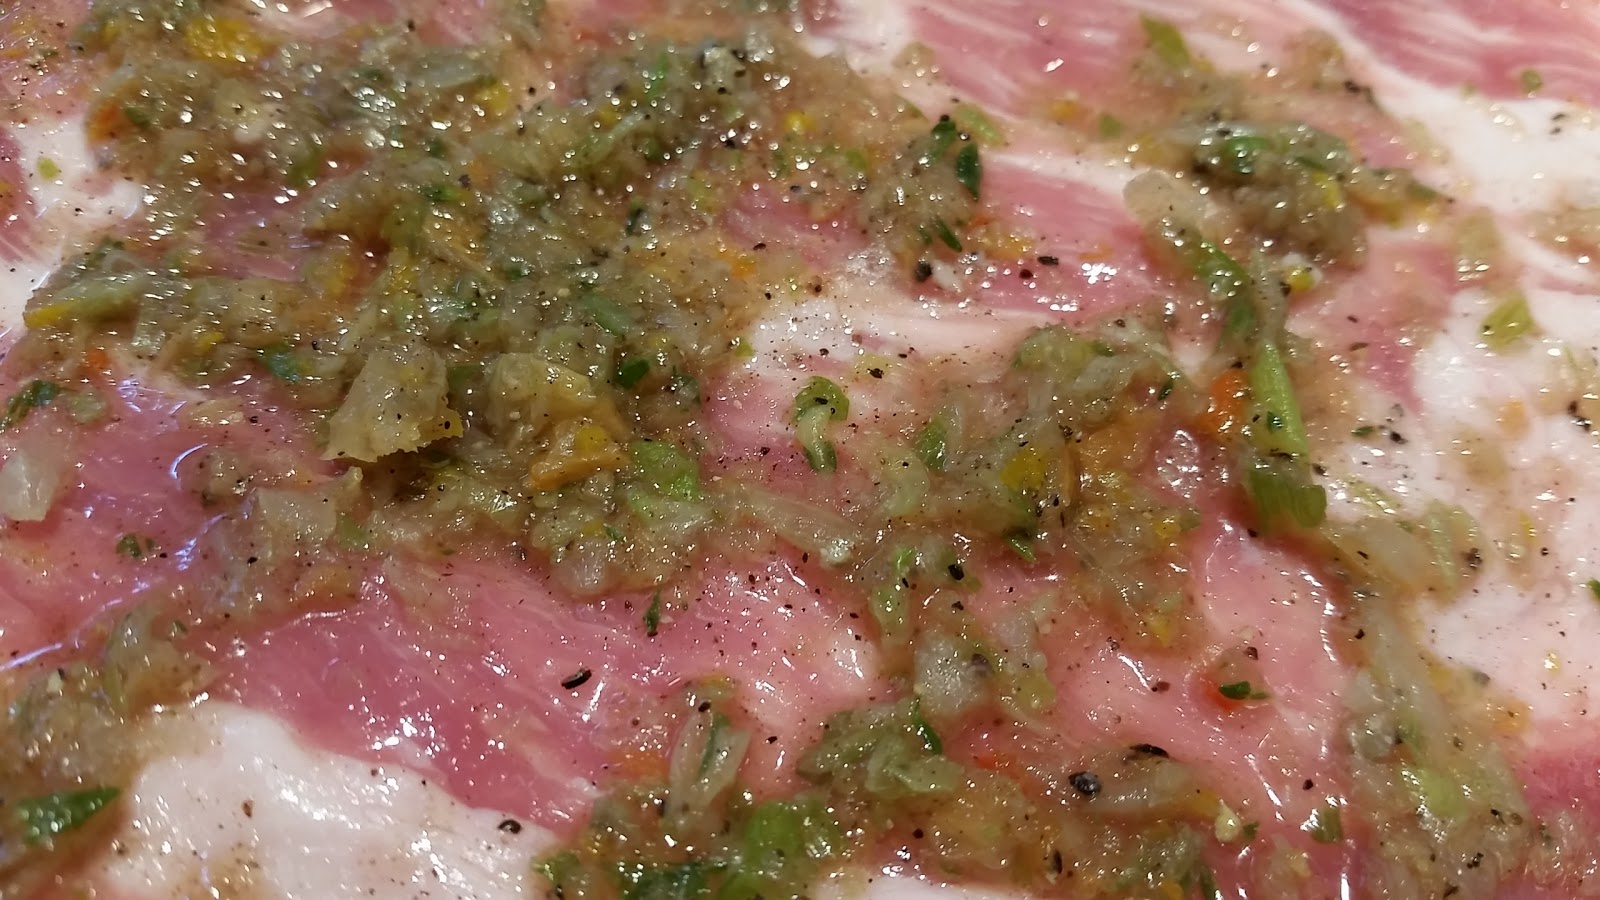 |
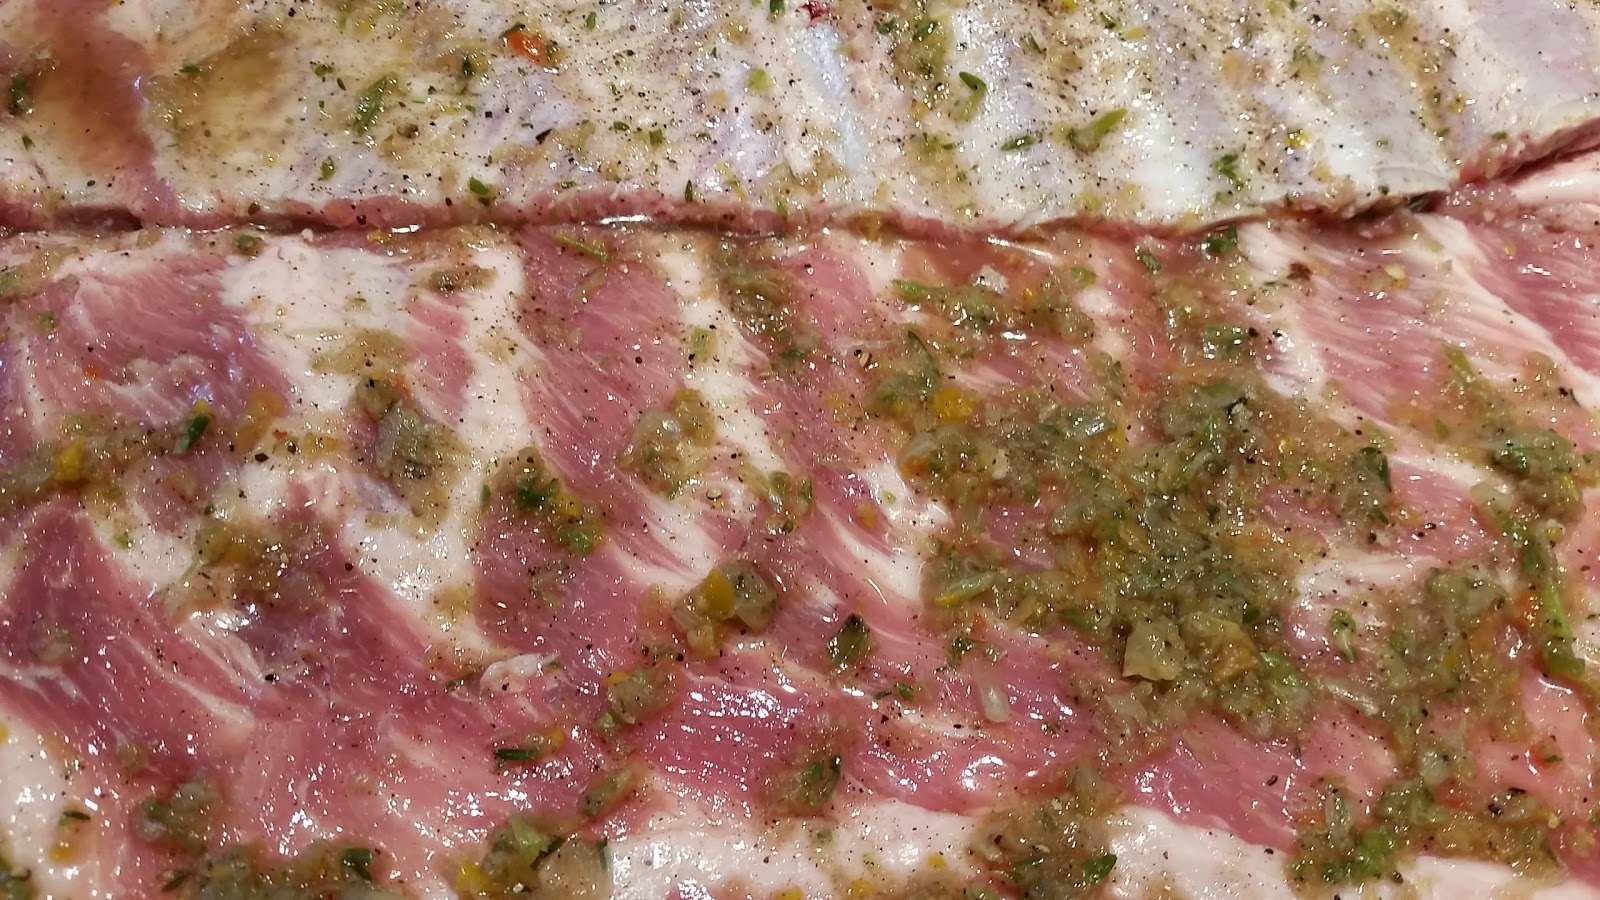
| Ribs with Jerk Rub. Look closely at all of those orange bits of Habanero! |
Of course, the number of rubs and sauces out there are endless. Originally, I was in the wet ribs camp, but all of my test batches indicated that an initial rub was the way to go. Finish with a sauce if you like. I will say leftover slabs of baby backs are very good reheated on a nice charcoal fire and brushed with a tasty BBQ sauce.
If you brine your ribs, do it a day in advance of cooking. You can rub the ribs then, too. I will layer the ribs in a large plastic food lug. Put a layer of plastic wrap between each layer to keep the flavors separated. I would put the jerk ribs on the bottom so they do not bleed their assertive flavors onto lower layers. Magic rub in the middle, and salt and pepper (or your mildest ribs) on top. Cover and refrigerate. If you are not brining, then it is OK to rub a few hours before the ribs go on the grill. You will get plenty of flavor.
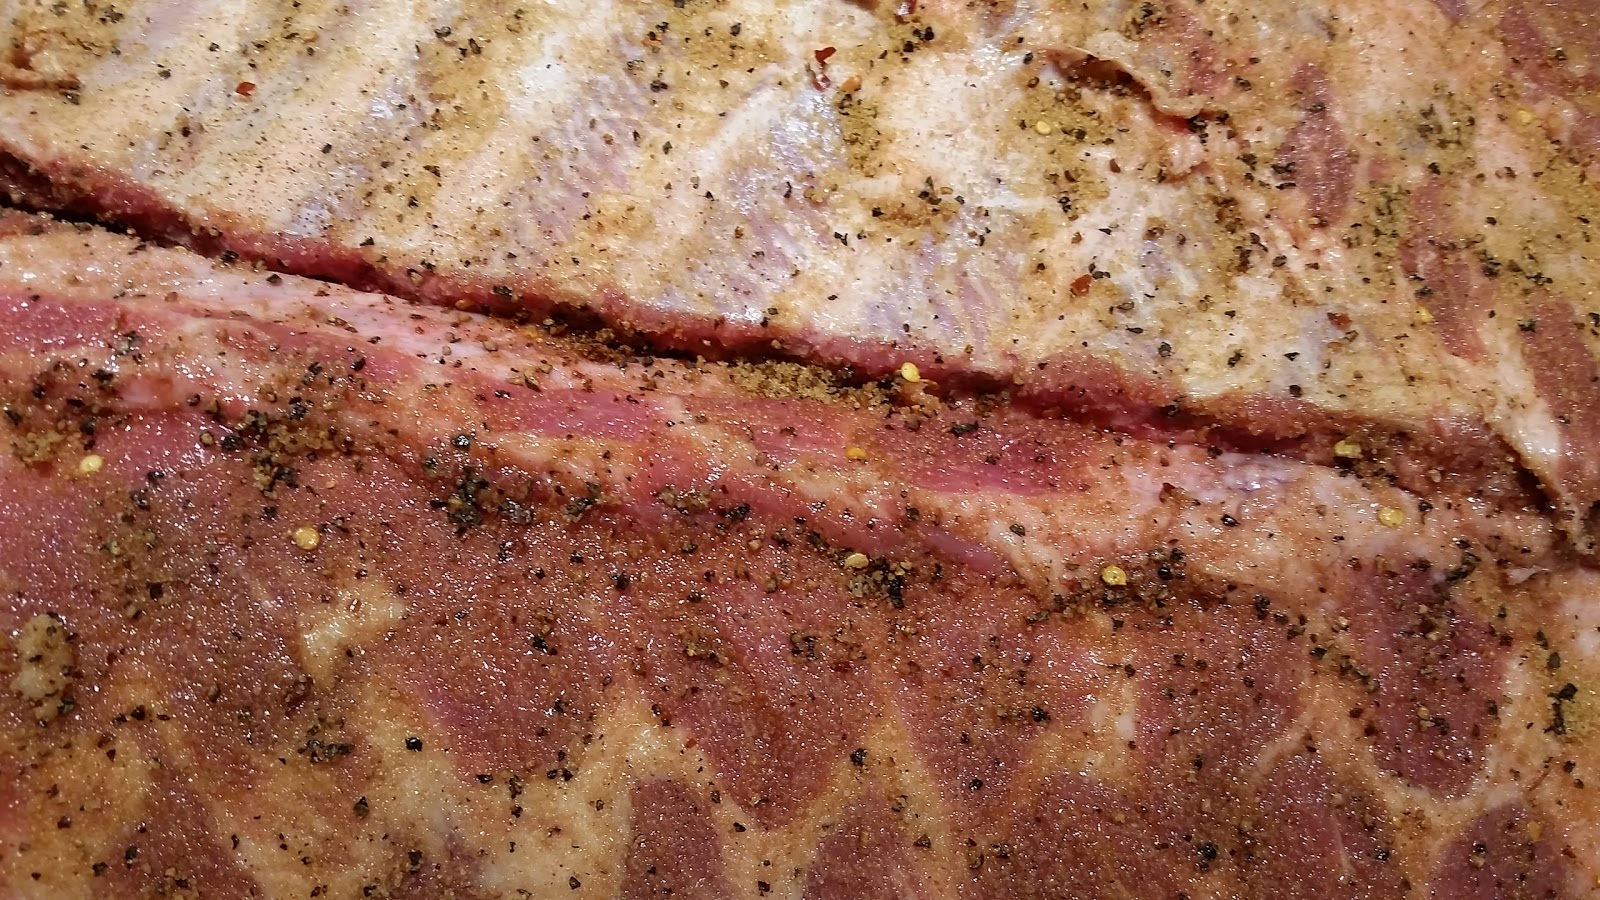 |
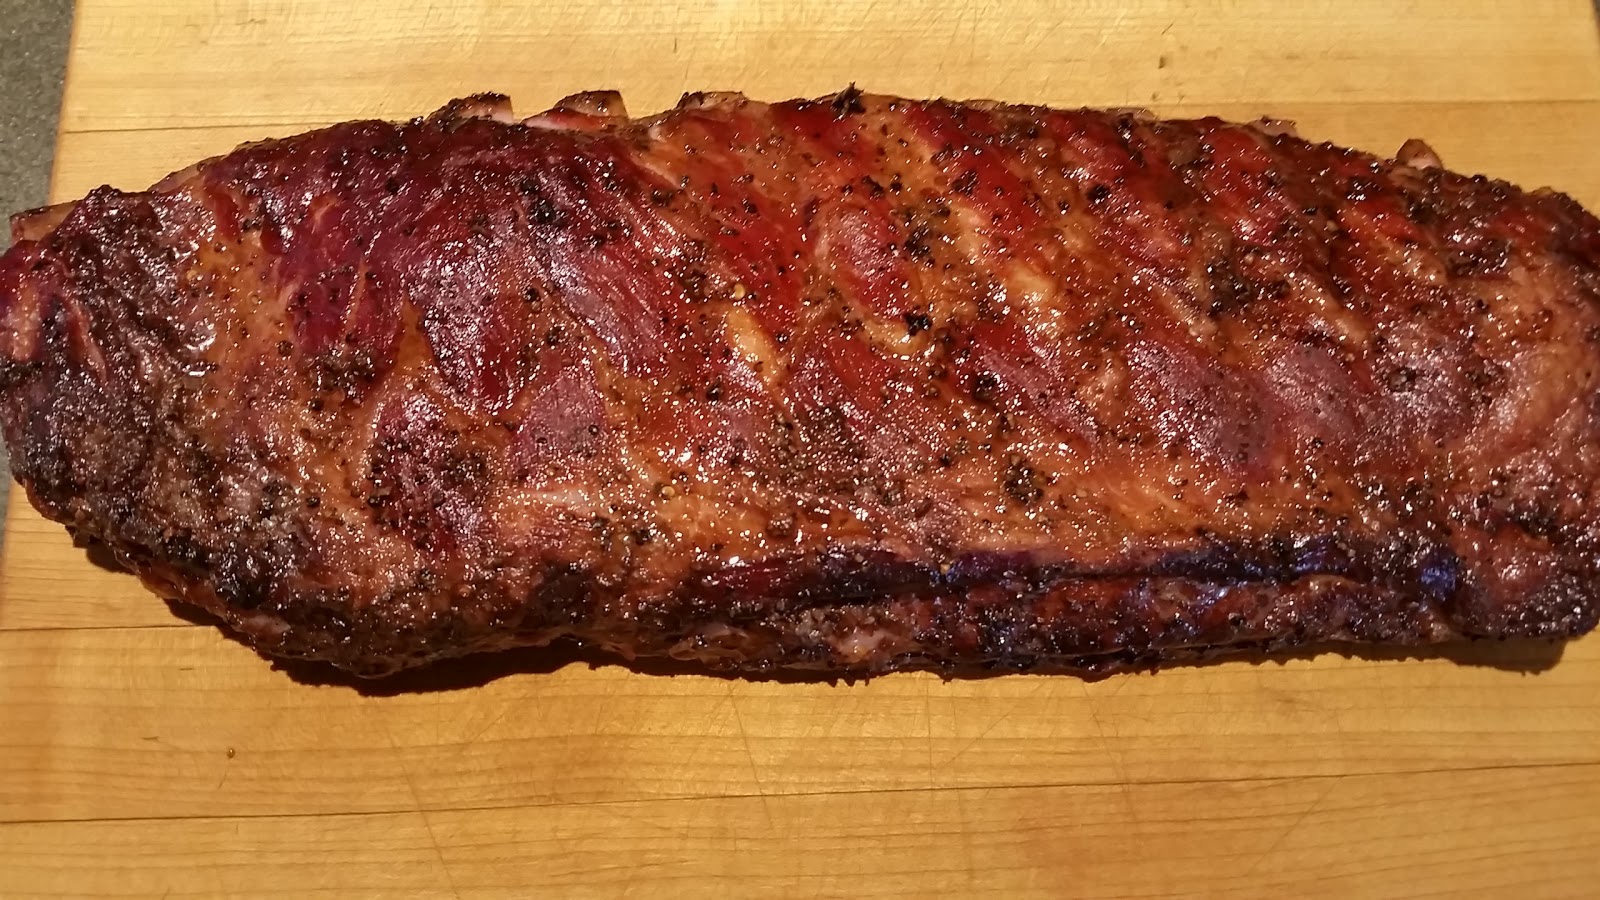
| Salt and pepper for those who think they can’t take the heat |
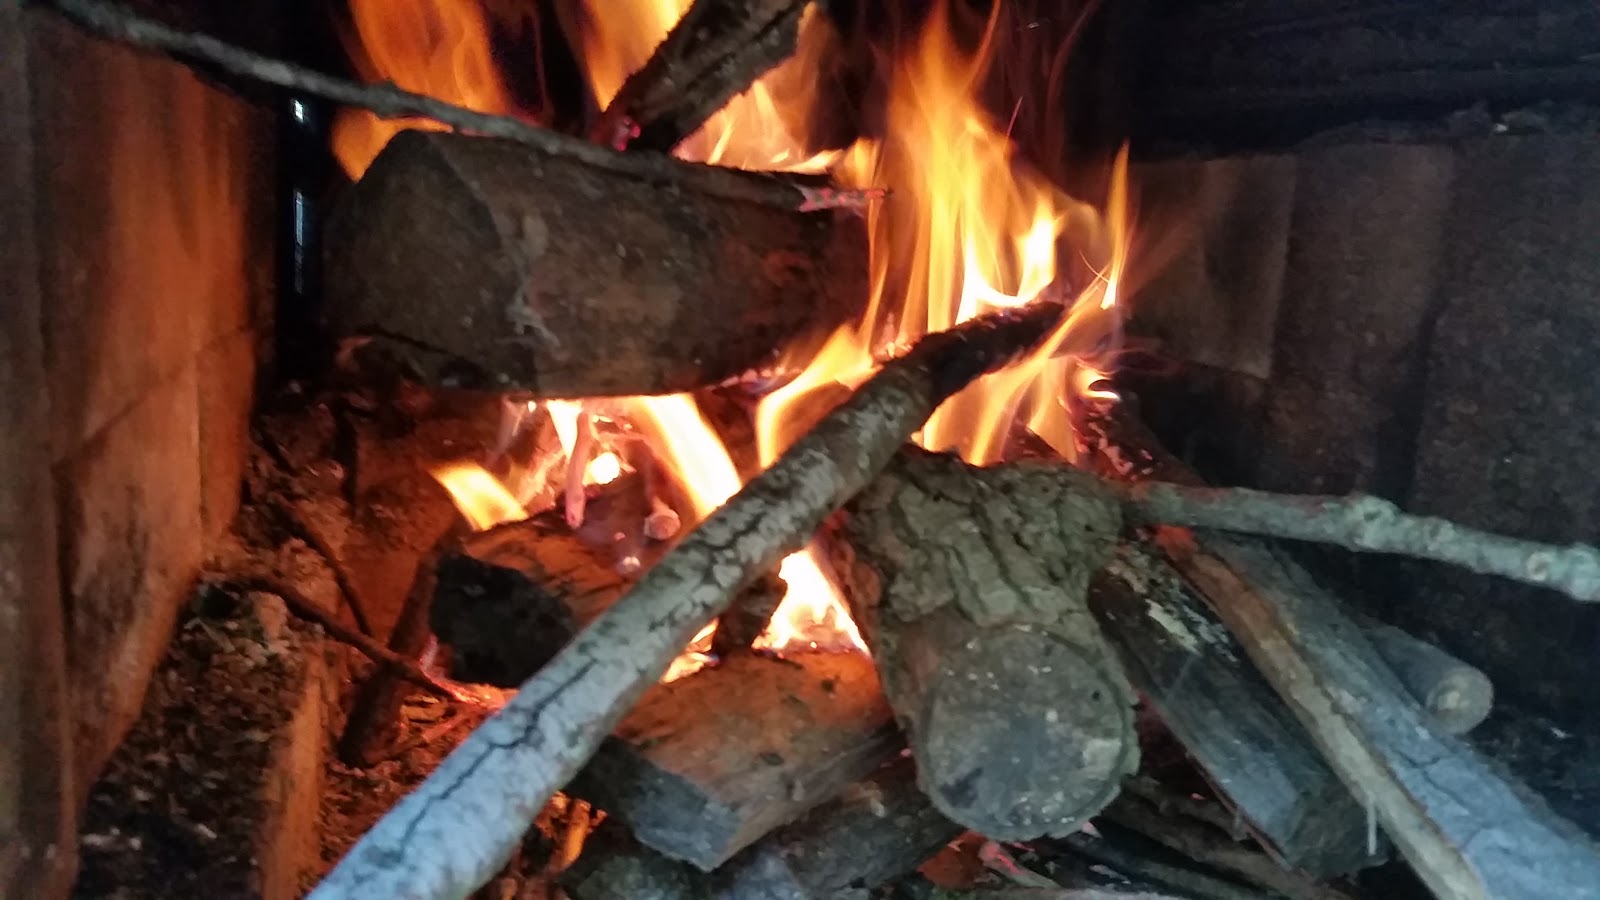
Get the fire burning. I use fruit wood, pecan, hickory, and oak. Feed a few logs to build some good coals. The fire is hot, but not a lot of flame. Too much flame blackens the outside of the ribs and gives a bitter taste. Once the fire is ready and the temperature is about 250F, put the ribs on the grill. Use a pan of water to keep it moist.
Spare ribs take about 4 hours to cook. After about 2 hours, I check on them. If the surface appears dry, then I mop them with a mixture of my vinegar based Carolina sauce mixed with beer. It will not dominate the rub flavor, but will add a bit of salty sweet-tart and mitigate any bitterness from the smoke. I use a lot of smoke.
 |
| Ribs on the grill. Can you read the temperature? Me neither. |
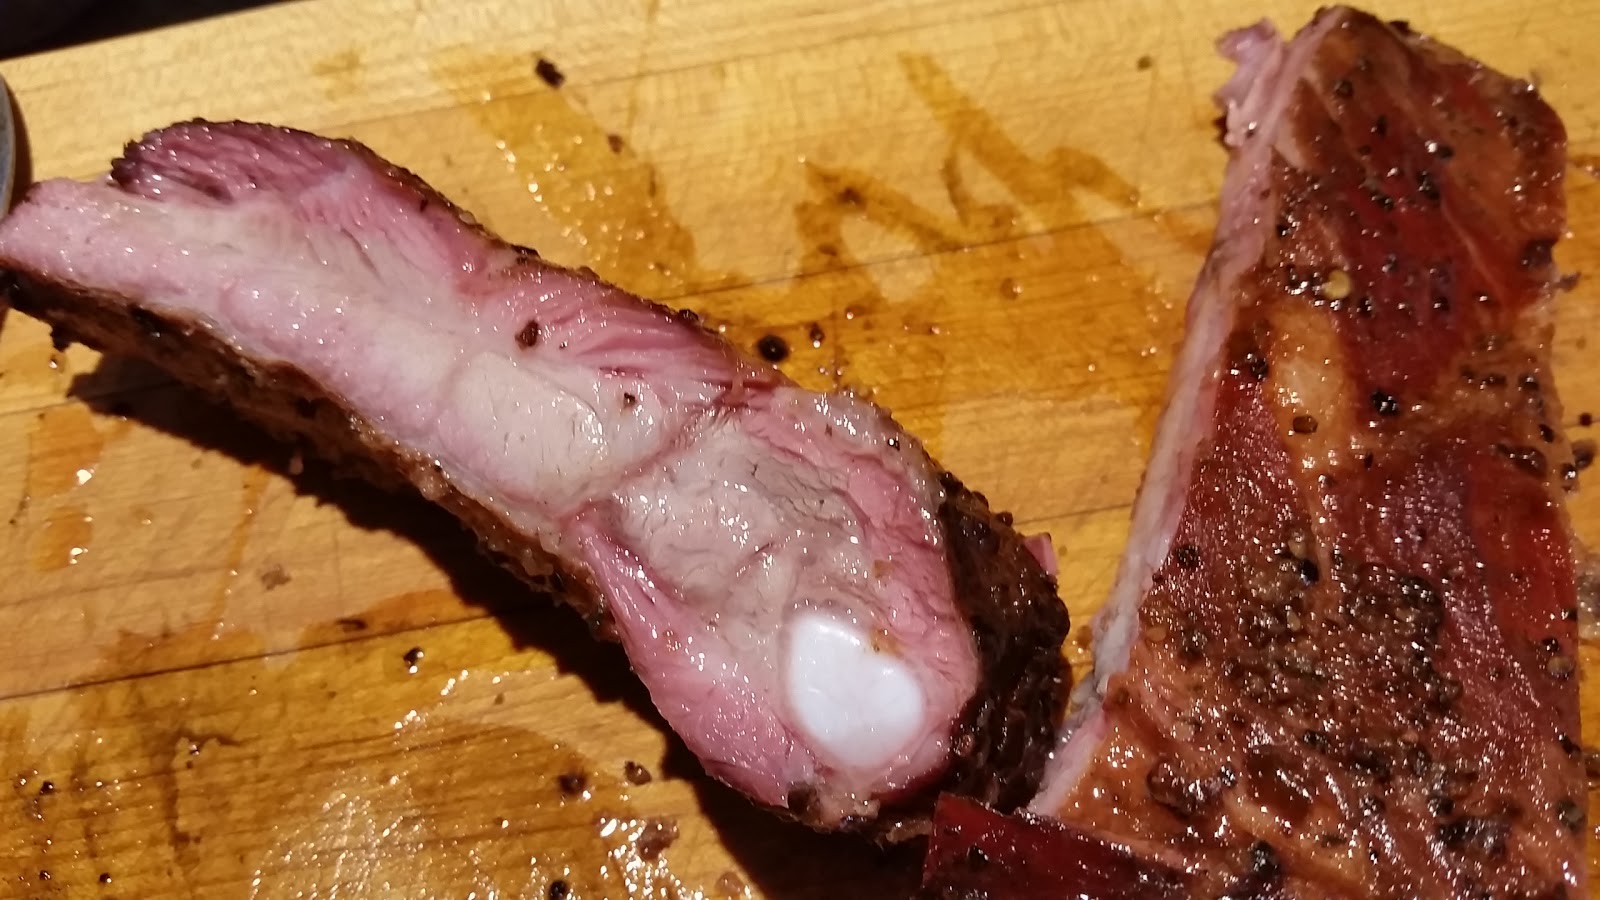
I can tell if the ribs are done by pulling at some of the meat near the end of a rack and by picking up a couple racks and seeing how they bend. If the meat is falling apart, they are overdone. If the ribs are tough and chewy, you need to slow down and not rush it. Sip on a beer while you bide your time for perfection. You want to be able to bite into the rib and leave teeth marks in the meat. The connective tissue should be broken down and fat should be melted. The bone should come clean when you have nibbled off all of the meat.
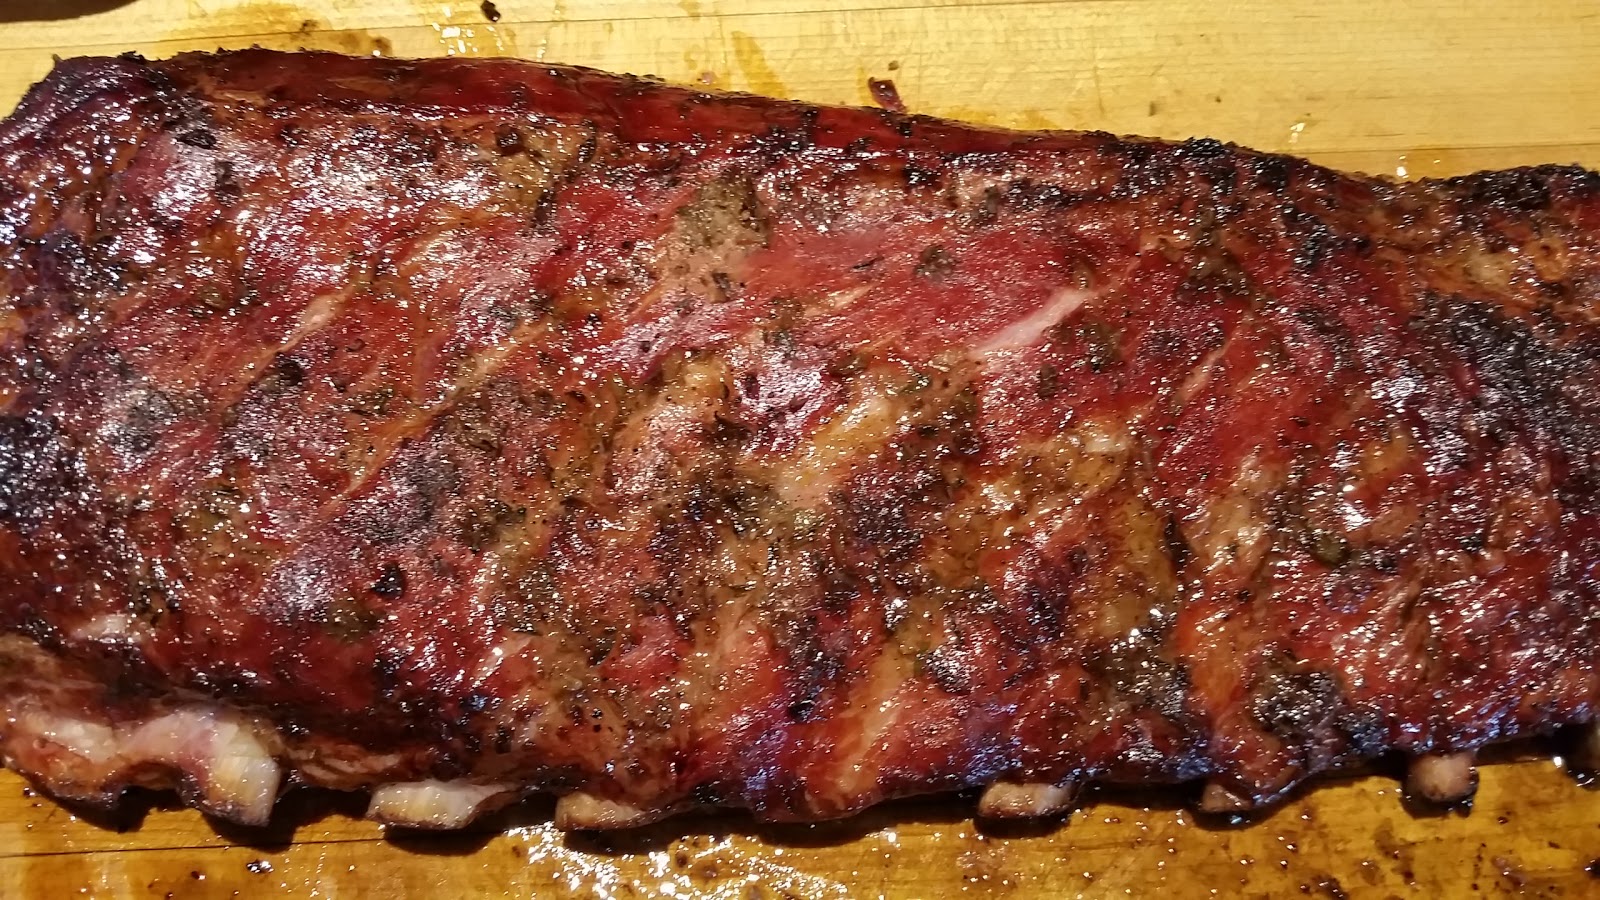 |
 |
| Ready to eat! |
Chances are you don’t have a reasonable facsimile of The Porkulator. Perhaps you should build one. If you’re not feeling that ambitious, you can still make some great ribs.
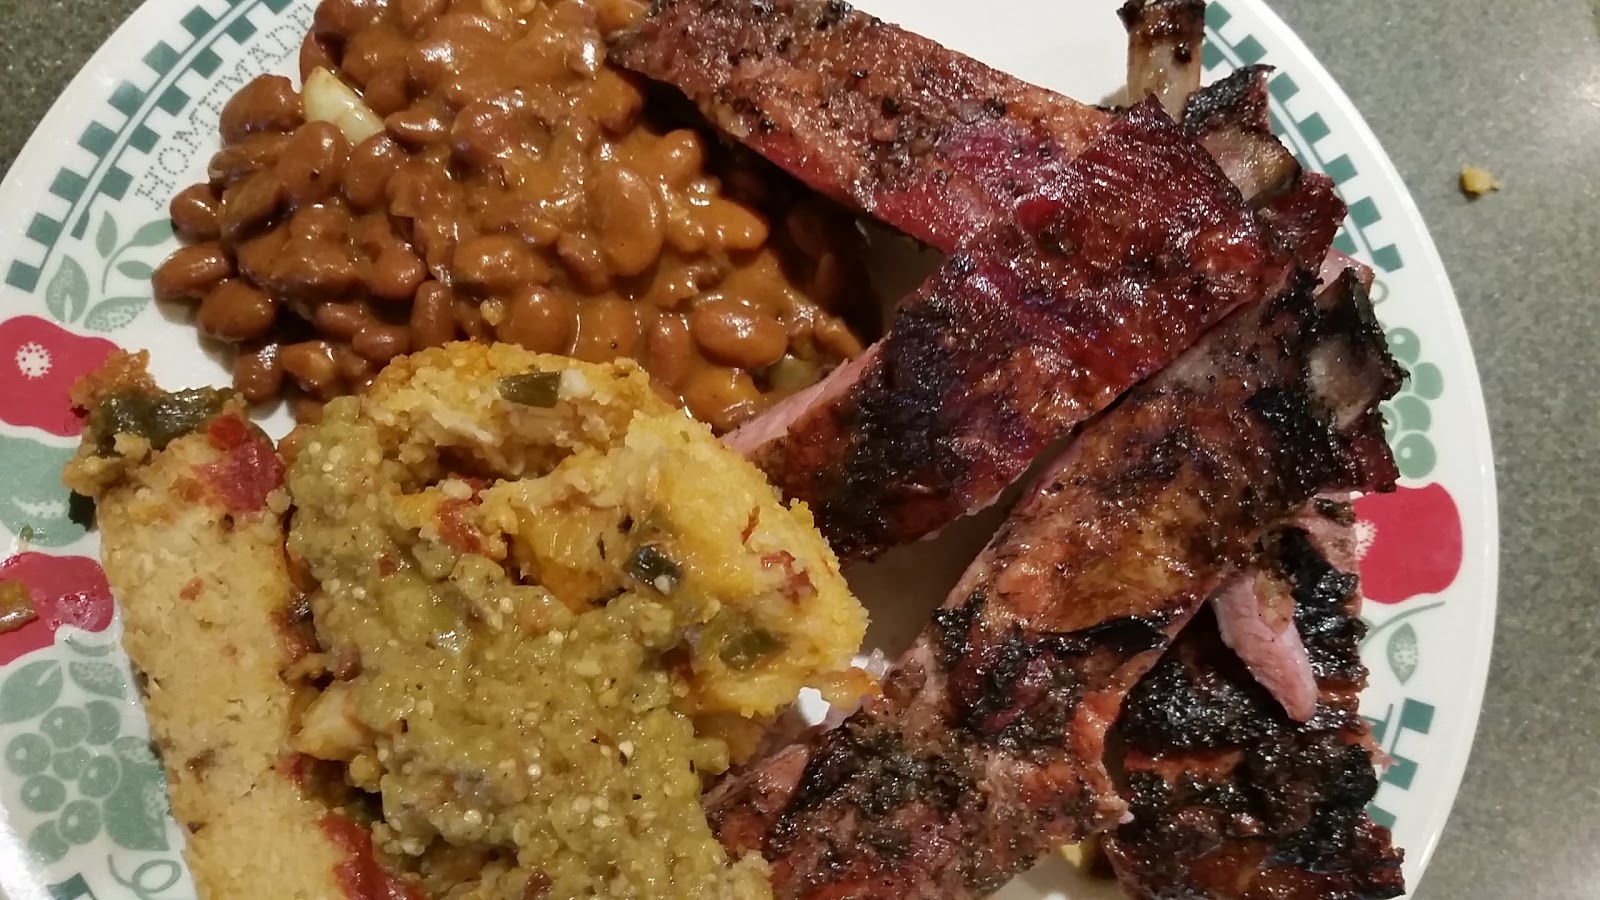 |
| A plate of Porkulated Ribs, Baked Shrimp Tamal with Tomatillo Salsa, and Special Beans |
