
Koji is the name commonly applied to the Aspergillus oryzae fungus. Chances are quite high that you have already eaten a product produced with koji, as it is key to making soy sauce, miso, fermented black beans, sake, and soju. Production and use of koji in food dates to the Chinese Zhou Dynasty of the 2nd century B.C.
Koji is a wonderful ingredient to use in the kitchen. It imparts a pleasant aroma that integrates well with many foods. Koji is also rich in enzymes that work with various proteins and starches. This process will deepen or enrich flavor. It will convert starches to sugars, a process known as saccharification. Koji is therefore important to the production of many fermented foods as mentioned above, because starches must be converted to sugar in order to ferment.
My interest in koji spawned from the wide array of miso at my local market, H Mart. (I love H Mart!) I tried various misos and incorporated them into my cooking, noting that miso will add depth to foods from salad dressings to marinades and glazes. I noted that the miso aisle also had a product called “Shio Koji.” It is made with koji rice, salt, and water.
Shio koji was a big leap forward for me. Meats rubbed with shio koji before cooking will transform. Texture and flavor are both improved with shio koji. Monk fish fillets, cuttlefish steaks, and roasted chicken marinated with shio koji are big hits for a easy ways to turn something ordinary into something special.

Following my process for making koji rice, I’ve also included the process for making shio koji at home. This is a great place to start if you are new to exploring koji.
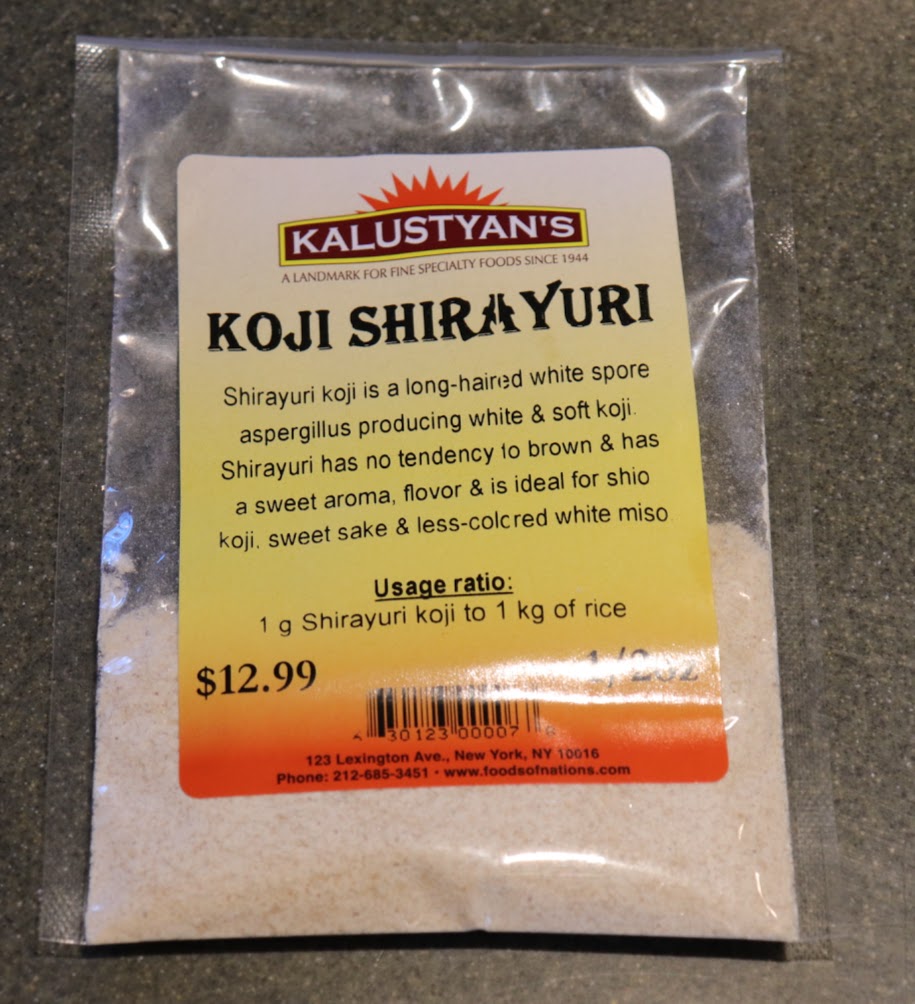
To make koji, you first need to obtain spores. The first few times I made this, I bought the spores from a homebrew supply store. They sell the spores for sake making. Eventually, I found more sources. You will find that there are several types of koji for making different things. They are loosely grouped into white, yellow, and black koji. White is the most common, and it is what I am using here. I have white and yellow on hand. It has a long shelf life. I bought these in a spice shop in NYC.
Next is the rice. You can use any type of grain, and I have used barley and wheat, but rice is the simplest and most traditional. Most instructions call for highly polished short grain rice. I keep this stocked for making impromptu sushi rolls, but I also have some high quality heirloom medium grain rice. Here I used a mixture of the two types. I use 4 cups per batch of koji.
Wash the rice. This is the most tedious step. I put the rice in a large tub. cover with cool water. Vigorously rub the rice between my hands. Rinse, repeat. Do this until the water is clear. If it does not want to clear, dump the rice into a colander and run under cool water between the rubbing steps. It takes many repetitions to get the water to run clear. Soak the rice overnight in the refrigerator.
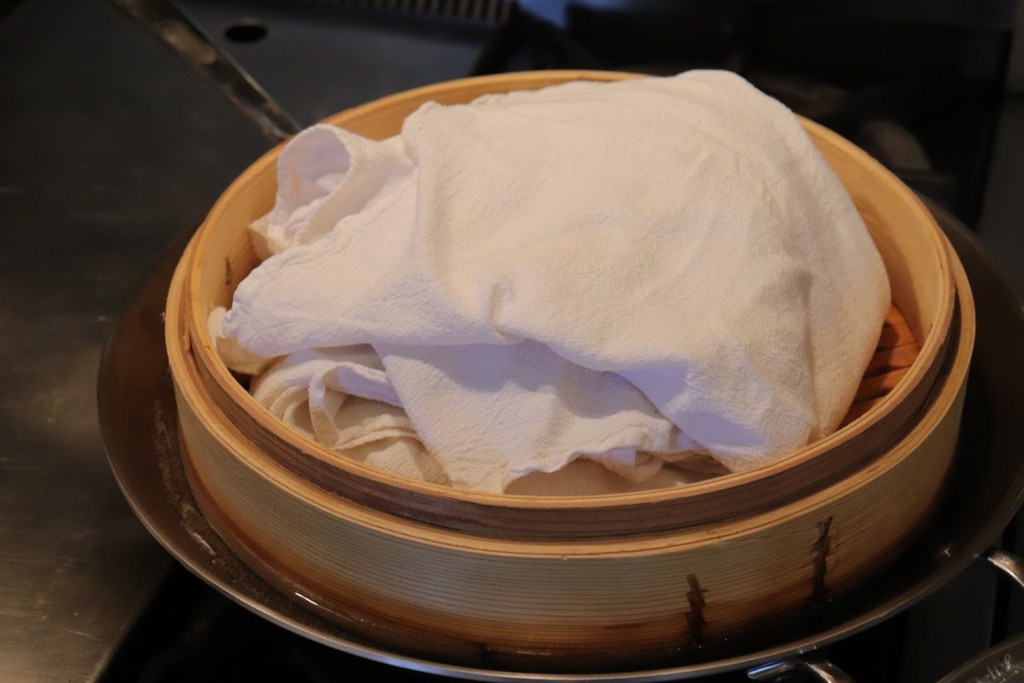
Drain the rice in a colander or large strainer. Lay out two muslin towels, one on top of the other. Lay them in a cross arrangement. place the drained rice in the middle of the top towel and wrap into a package. Place this in a steamer, and steam for about 40 minutes. You want the rice barely cooked through.


Open the towel to allow the rice to cool. While it cools, place 1/4 cup flour in a dry skillet and heat to sanitize the flour. Flour is full of fungus, yeasts and bacteria, so you need to neutralize them. Cool the flour. Mix in 1/2t koji spores with the cooled flour. The flour makes the koji easier to evenly distribute with the rice.
Next, I place the rice, still in its towels, in a perforated 1/2 steam pan. A shallow ran worked well for this. Open the towels to expose the rice. Use a clean rice paddle to thoroughly mix the flour/koji mixture with the rice. Re-wrap the rice with the towels.
Now, the rice needs to be kept at about 85F in a humid environment. To do this, I set up a water bath using my sous vide immersion circulator. I set it at 95F to start since the rice and pan are cooler than that already. I set the pan of rice over the water, making sure it’s not touching the water. Cover the set up to retain heat and moisture. After a few hours, I check the rice temperature, and if it’s at 85F, but no more than 95F, I drop the water temperature to 90F.
In 6 hours, give or take, you will see signs of koji growth. There will also be a pleasant tropical fruity, nutty, aroma. Stir the rice to make sure the growth is even. After 24 hours, when you check on the rice, crack a grain to see how the koji is penetrating the rice. When it is about halfway through the grains of rice, it is done.
Remove the pan from the sous vide setup, and allow to cool to room temperature. Put the rice in a zip top bag or sealed container and store in the fridge. It’s ready to use.
If you are new to koji, or even if you aren’t, I recommend making shio koji. As described above, shio koji used as a marinade, will enhance the flavor of foods. First, the koji will contribute umami flavor by breaking down proteins and improving the texture of the food. And, the amalase enzyme in the koji will convert starches to sugar, imparting a mild sweetness. because these flavors are inherent to the food being marinated, the developed flavors perfectly integrate with the flavor of the ingredient, adding depth and complexity. Magic!

To make the shio koji, heat 500ml water with 160g salt to 140F. Pour over 700g koji rice. Stir. Age at room temperature for about 2 weeks, stirring daily. The mixture will look a bit like porridge. You can blend into a paste or even dry and powder this mixture. It will store in a sealed container in the fridge foe several months, but chances are you will use it long before then.

3 thoughts